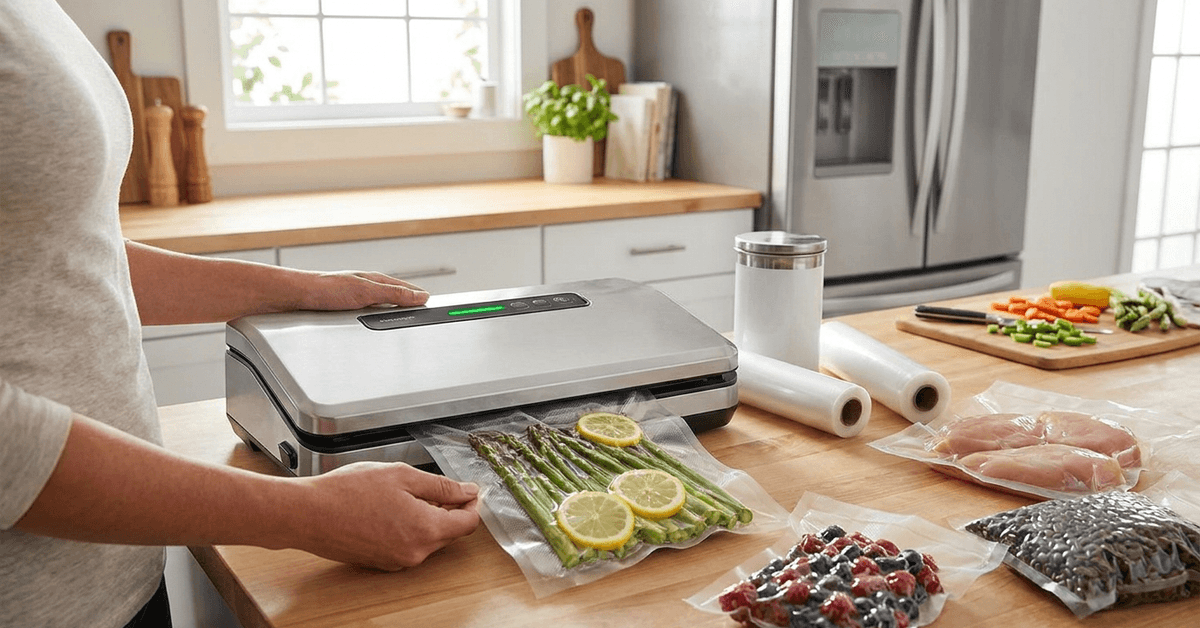
Food vacuum sealers are essential for anyone committed to extending food freshness and reducing waste. This guide offers clear, step-by-step instructions. It is tailored for home cooks, meal preppers, or anyone wishing for better organization in the kitchen.
Learning to use a vacuum sealer efficiently means safer storage and less spoilage over time. Small improvements can lead to big time and cost savings.
What is a Food Vacuum Sealer and How Does It Work?
A food vacuum sealer is an appliance designed for home kitchens. It removes air from specially designed bags or containers, then seals them tightly.
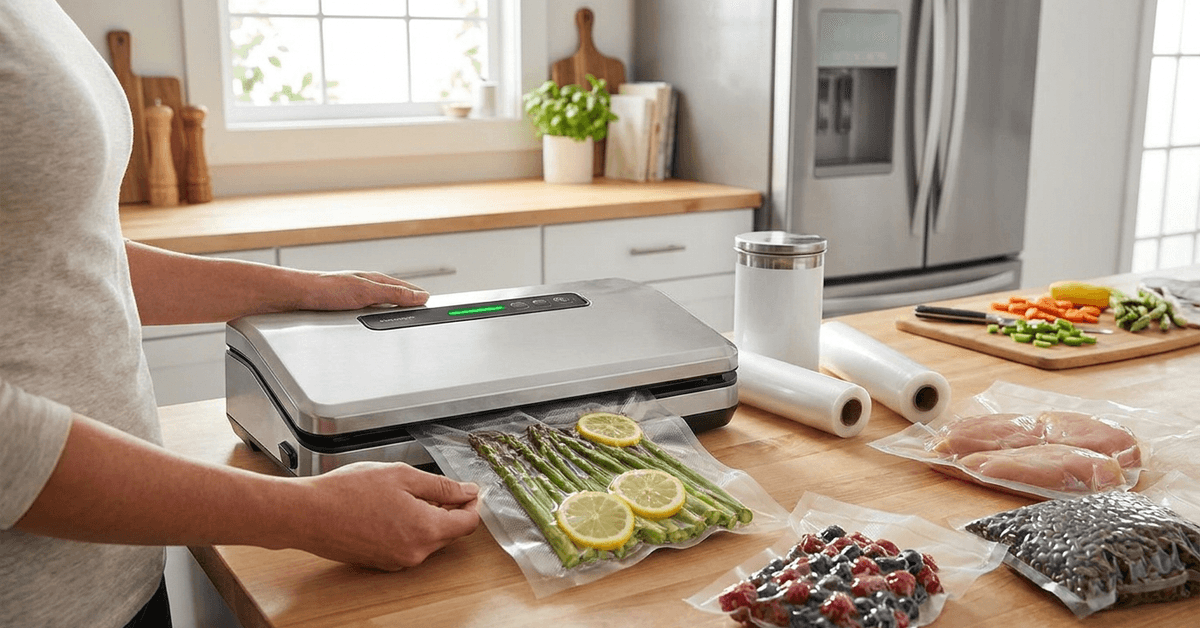
By taking away oxygen, the process limits bacteria and mold growth. This makes vacuum-sealed foods last much longer than foods in ordinary containers.
Main Parts of a Vacuum Sealer
- Sealing Bar: Heats and melts the bag to create an airtight seal.
- Vacuum Chamber: The area where air is extracted from the bag.
- Lid Lock or Lever: Keeps the bag in place during operation.
- Control Panel: Buttons to select functions or modes.
The most common models on the market are external suction machines and chamber vacuum sealers. External machines, such as FoodSaver, are popular with home users due to their simplicity.
Choosing the Right Bags and Materials
The best results always come from using certified vacuum-sealer bags or rolls. These are designed to handle both suction and heat sealing, preventing leaks and air pockets.
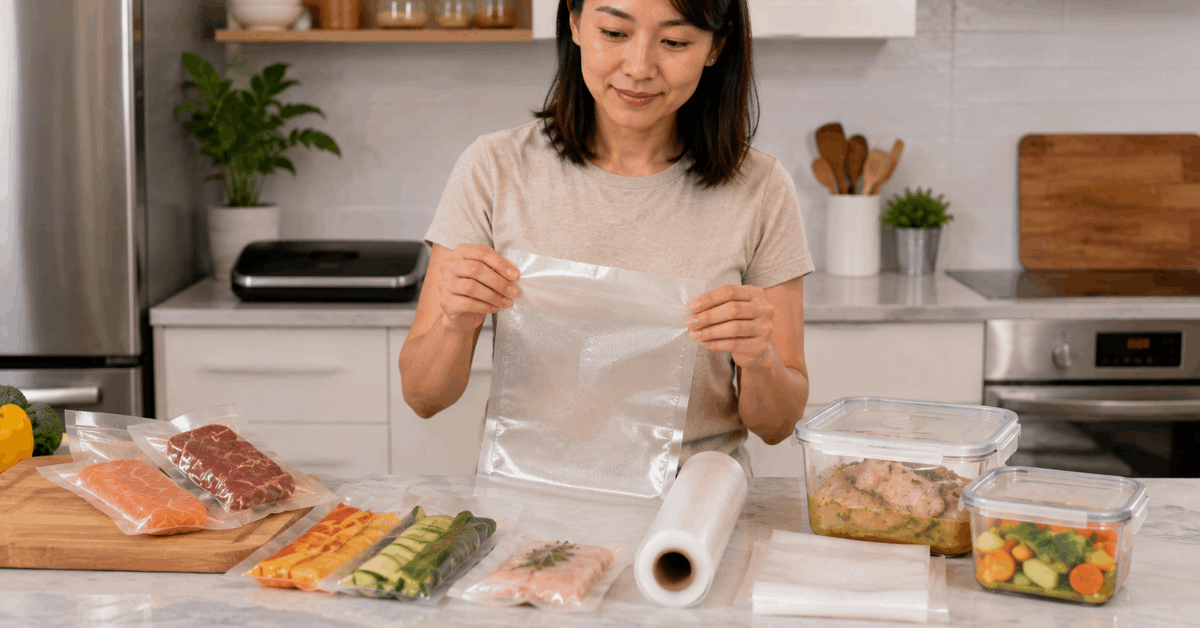
Bag Types and Sizes
- Pre-cut bags: Ideal for single meals or small portions. Easy to use, just fill and seal.
- Bag rolls: Offer more flexibility. Cut to any required length for bulk foods or storage of odd-shaped items.
- Canisters and containers: For delicate foods, marinated items, or liquids that could leak if bagged.
It helps to match the bag thickness to your sealer’s recommendations. Too thin, and you might get failed seals. Too thick, and some machines struggle to close fully.
Step-by-Step: How to Use a Vacuum Sealer Properly
Careful preparation leads to the best, most reliable seals. Consider organizing your workspace and ingredients ahead of time.
Preparation Tips
- Pat foods dry to avoid moisture interfering with the sealing strip.
- Pre-freeze soft fruits, bread, or pastries to retain their shape during the process.
- Cut large cuts of meat into manageable pieces for ease of sealing and future use.
Vacuum Sealing Workflow
- Place the chosen bag on a clean, flat surface.
- Add food, leaving 7 cm of empty space above contents to ensure proper sealing.
- Straighten the bag so no folds or creases appear in the sealing area.
- Insert the open edge into the vacuum chamber so the bag opening fully overlaps the sealing strip.
- Close the lid and lock it as per the manufacturer’s instructions.
- Press the vacuum and seal button (if separate, use vacuum first, then seal when prompted).
- Wait for the indicator light or sound to show the process is complete before removing the bag.
- Check the seal for completeness—no gaps or wrinkles should be present.
With experience, the routine becomes much faster and more accurate. In practice, it is not unusual to repeat a step if a seal appears weak or if moisture was present.
Foods Best Suited for Vacuum Sealing
Most pantry, fridge, and freezer staples benefit from vacuum sealing. The most popular choices vary, but certain foods consistently store well with this method.
- Meat and fish: Popular for batch buying and freezing—prevents freezer burn when sealed correctly.
- Cheese: Keeps mold away and texture intact longer.
- Vegetables: Especially if blanched first to retain color and nutrients.
- Coffee beans and ground coffee: Maintains aroma and freshness.
- Baked goods: Like bread, cookies, or muffins—best if pre-frozen before sealing to avoid crushing.
Some homeowners find it useful to store pantry staples like flour or rice in vacuum-sealed bulk bags. This approach blocks pests and extends shelf life significantly.
Foods to Avoid
- Soft, fresh cheeses: May contain hidden moisture that can go bad even if sealed.
- Raw garlic and mushrooms: Can develop harmful toxins when stored in anaerobic conditions.
- Hot or warm foods: Allow to cool completely before sealing to prevent condensation inside the bag.
Keeping Your Vacuum Sealer Clean and Working Well
Good maintenance is essential for reliability. Attention to cleaning helps every part function for many years.
Daily Cleaning Habits
- Wipe the sealing bar after each use with a damp, non-abrasive cloth.
- Empty and clean removable drip trays with mild soap and water regularly.
- Inspect the sealing gasket for crumbs or debris that may cause poor suction.
Deep Cleaning Tips
- Unplug the vacuum sealer before cleaning the exterior case or control panel.
- Remove removable parts and wash them by hand when food particles are trapped.
- Allow all pieces to dry completely before reassembly.
For homes with frequent use, a scheduled, thorough clean twice a month helps preserve all delicate appliance components.
Storage and Organizational Tips for Sealed Foods
Effective food organization maximizes the benefits of vacuum sealing. Labeling and arrangement have a big impact over time.
- Label each sealed bag with the date, contents, and any prep notes (such as cooked or raw).
- Place new bags at the back of the freezer or pantry shelves, moving older bags forward for use first.
- Store flat when possible to save space—especially in crowded freezers.
- Freeze bags upright for soups or sauces for convenient stacking.
A tidy, well-organized system saves time finding ingredients and reduces duplicate purchases. Small changes here pay off quickly.
Troubleshooting Common Sealing Problems
Minor sealing problems can affect vacuum strength and food storage results. Checking the bag, sealing area, and appliance parts can often identify the cause.
Fix Weak or Incomplete Seals
Check the bag edge for crumbs, moisture, wrinkles, or folds before sealing. Make sure the bag sits flat and fully inside the vacuum chamber. If seals continue to fail, inspect the sealing strip and gasket for dirt, wear, or misalignment.
Prevent Overheating and Bag Damage
If the bag melts or burns, the sealing bar may be too hot. Allow the appliance to cool between cycles or adjust the heat setting if available. Consult the product manual if problems continue or replacement parts may be needed.
Frequently Asked Vacuum Sealer Questions
Occasional uncertainty is normal when starting with new appliances. A short list of common questions may help.
- Can liquids be vacuum-sealed? For small amounts, yes, if frozen first. For soups or marinades, a vacuum canister is safer.
- How long does vacuum-sealed food last? Shelf life varies, but often doubles or triples compared to non-sealed storage.
- Is a vacuum sealer suitable for sous vide cooking? Yes, provided bags rated for boiling water are used.
Conclusion: Make the Most of Your Food Vacuum Sealer
Using a food vacuum sealer effectively can help keep food fresher and improve kitchen organization. Choosing suitable bags, cleaning the machine regularly, and sealing foods correctly support reliable performance.
With consistent use, vacuum sealing can reduce food waste and simplify bulk meal preparation. A few good habits can make this appliance a practical tool for efficient food storage.