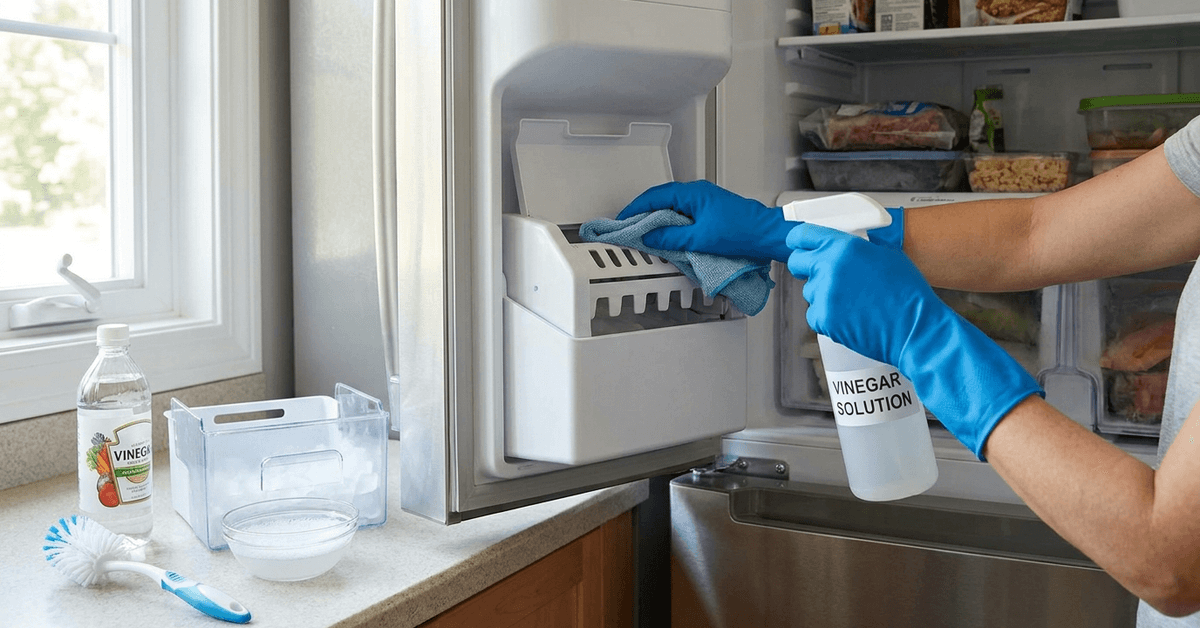
A slow ice maker can make everyday kitchen routines less convenient. Reduced ice production may result from water supply problems, clogged filters, buildup, temperature settings, or worn components.
This guide explains the common causes of slow ice production and provides safe, step-by-step cleaning methods. It also covers preventive maintenance, troubleshooting tips, and signs that professional service may be needed.
Common Reasons Your Ice Maker Is Running Slow
Slow ice makers can spoil beverage prep and meal times. Several practical issues can cause reduced ice production—each with straightforward solutions.
Low Water Supply or Pressure
A frequent cause is insufficient water flow. Most ice makers depend on a steady, pressurized water source. A partially closed water valve or a kinked supply hose may slow filling cycles.
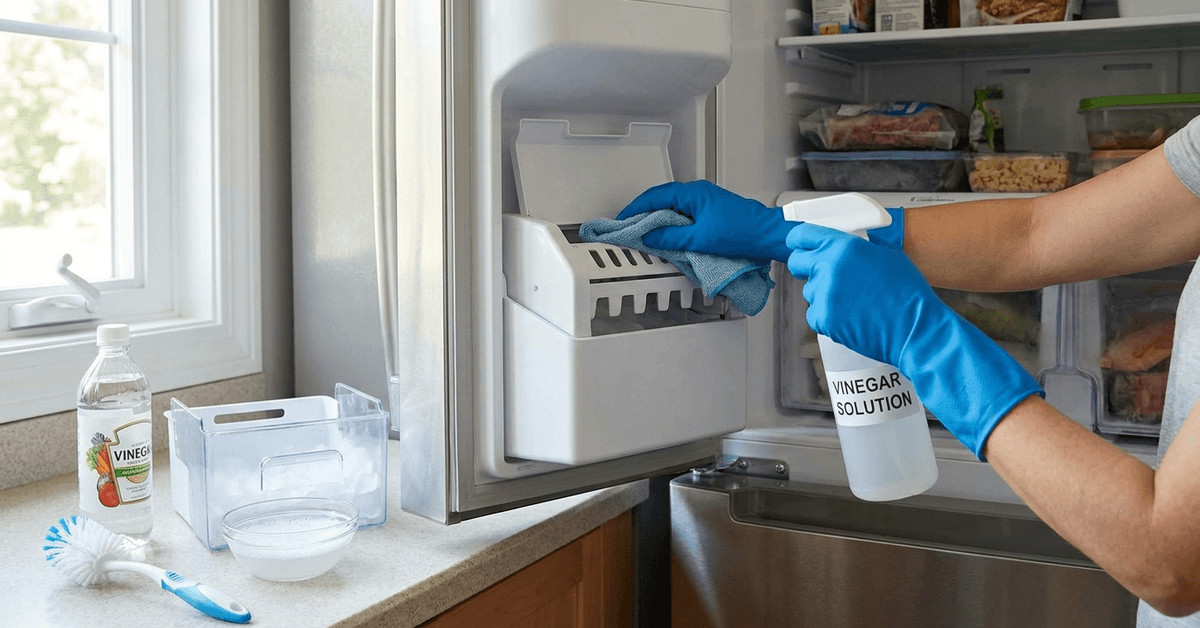
Mineral buildup inside the supply line, especially in areas with hard water, can also reduce flow over time. This is especially common in older homes or when no water filter is used.
Clogged Water Filter
Many newer Whirlpool refrigerators feature a built-in water filter. If the filter is overdue for replacement, it may get clogged. A clogged filter restricts water flow, leading to sluggish ice cycles and smaller cubes.
For most households, changing the filter every six months restores speed and clarity to ice production. Always check your appliance’s manual for the suggested filter type and timing.
Dirty Ice Maker Components
Residue on the ice mold tray, ejector arm, or fill spout can lead to jams. Sticky buildup causes cubes to form improperly, stick together, or freeze unevenly, slowing the process.
This is especially true if juices or food debris enter the ice bin, a situation often overlooked during busy meal preparation.
High Freezer Temperature
If the freezer is too warm, ice doesn’t form as quickly. Many fridges need to be below 0°F for optimal production. Too many items in the freezer can also block air flow.
A freezer thermometer helps with temperature adjustments that keep your ice maker working efficiently.
Mechanical and Sensor Issues
Old ice makers may have worn gears or sensors. A faulty thermostat or stuck shutoff arm can signal the machine to pause production or repeat cycles. When parts are misaligned, the entire process may slow or stop unexpectedly.
How a Slow Ice Maker Impacts Daily Efficiency?
A sluggish ice maker can disrupt daily beverage routines and add time to kitchen tasks. If ice is needed for guests or large families, waiting longer can be particularly inconvenient.
In some homes, repeated slow performance also leads to increased refrigerator door openings, which raises energy use and reduces overall appliance efficiency.
Step-by-Step: How to Clean Your Ice Maker Safely
Periodic cleaning can significantly boost both speed and output. Most manufacturers recommend maintenance every one to three months, though frequency may change if hard water is present.
Gathering the Right Cleaning Supplies
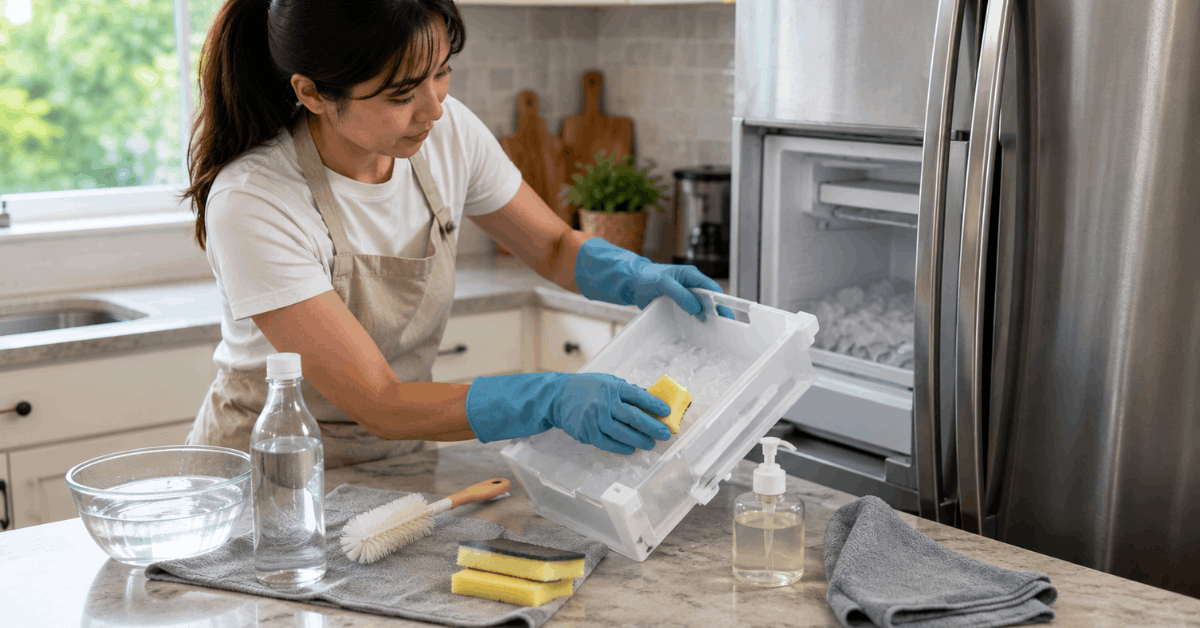
- White vinegar (natural descaler)
- Warm water
- Microfiber cloth or soft sponge
- Bottle brush
- Dish soap (unscented, mild)
- Clean dry towel
Some homeowners also use a specialized appliance cleaning solution, but vinegar is generally reliable for routine care.
Unplug and Empty the Ice Maker
A safe approach begins with disconnecting power. Remove the ice bin and discard all ice. This prevents accidental injury and allows parts to dry fully between steps.
Disassemble Removable Parts
Many ice makers have easy-to-remove trays and bins. If the model allows, detach these pieces to reach internal crevices and moving arms. Check your appliance manual if unsure about how to remove these components safely.
Clean the Ice Bin and Tray
Using warm, soapy water, wash the ice bin, tray, and any scoop or separator. Rinse thoroughly to remove all detergent, since residues can linger and affect ice flavor. Let cleaned parts air dry on a clean towel to reduce streaks or lint that could re-enter the system.
Descale With Vinegar Solution
A popular method for removing mineral buildup is soaking affected parts in a 1-to-1 vinegar and water mix. Scrub gently with the bottle brush to loosen deposits on the fill spout, ejector blades, and corners of the tray.
Rinse parts again and dry, ensuring no vinegar scent remains—this step helps preserve the neutral taste of ice cubes.
Wipe Down Internal Surfaces
Dampen a microfiber cloth with the same vinegar solution, then wipe the inside of the ice maker housing and around the water inlet. Pay attention to corners where grime often builds.
Reassemble and Flush
Once all parts are dry, reassemble the bin, tray, and any removable arms. Plug the unit back in. It’s advisable to discard the first batch of ice after cleaning, as lingering cleaning agents may still be present.
Preventing Ice Maker Slowdown in the Future
With basic routines, most slowdowns can be avoided. Maintenance is not time-intensive—regular care keeps the ice maker performing at its best for years.
Change Filters on Schedule
Set a reminder to replace the water filter at least twice a year. In areas with hard water, more frequent changes may be needed to maintain optimal water flow.
Keep Freezer Organized
An overfilled freezer restricts airflow, slowing ice formation. Using bins and baskets allows for more even spacing between frozen items, letting cold air circulate freely.
Storing items away from the ice maker compartment prevents debris and packaging from blocking sensors or trays.
Clean Regularly
Even if slowdowns are not apparent, a cleaning routine every few months prevents mineral buildup and accidental blockages. Routine inspection also minimizes larger repair needs.
Monitor Water Supply
It’s wise to occasionally examine the supply line for kinks or signs of leaks. If using external filters, ensure they are also clear and replaced when recommended by the manufacturer.
Recognizing When Professional Service May Be Needed
If slowdowns continue after a thorough cleaning and filter change, mechanical issues may be at fault. Worn sensors, old motors, or broken gears can all require professional evaluation.
For safety, avoid opening sealed housing or electrical panels, as unauthorized repair attempts can void warranties and introduce hazards. Instead, consult a certified appliance technician for diagnostics.
Frequently Asked Questions
These common questions can help homeowners understand basic ice maker cleaning and troubleshooting needs. Knowing what to check first can make routine maintenance easier and help prevent recurring problems.
How often should I clean my ice maker?
For most households, every one to three months is sufficient if the appliance is in regular use. Heavier usage or hard water conditions may require more frequent cleaning.
Can vinegar damage ice maker parts?
White vinegar is generally safe for plastic and metal components in small amounts. However, it is important to rinse thoroughly, as leaving residue can cause corrosion or flavor issues over time.
Why is my ice maker making small or hollow cubes?
This normally signals low water pressure or a clogged water filter. Starting with a filter change or supply line check often resolves the problem.
Conclusion: Achieving Reliable, Fast Ice Production
Maintaining your ice maker does not have to be complicated. Understanding common causes of slow production helps avoid frustrating delays and costly repairs over time.
Consistent cleaning, routine filter replacement, and careful freezer organization are the most impactful habits. Attending to these details delivers reliable ice output year-round—one less worry in a busy kitchen.