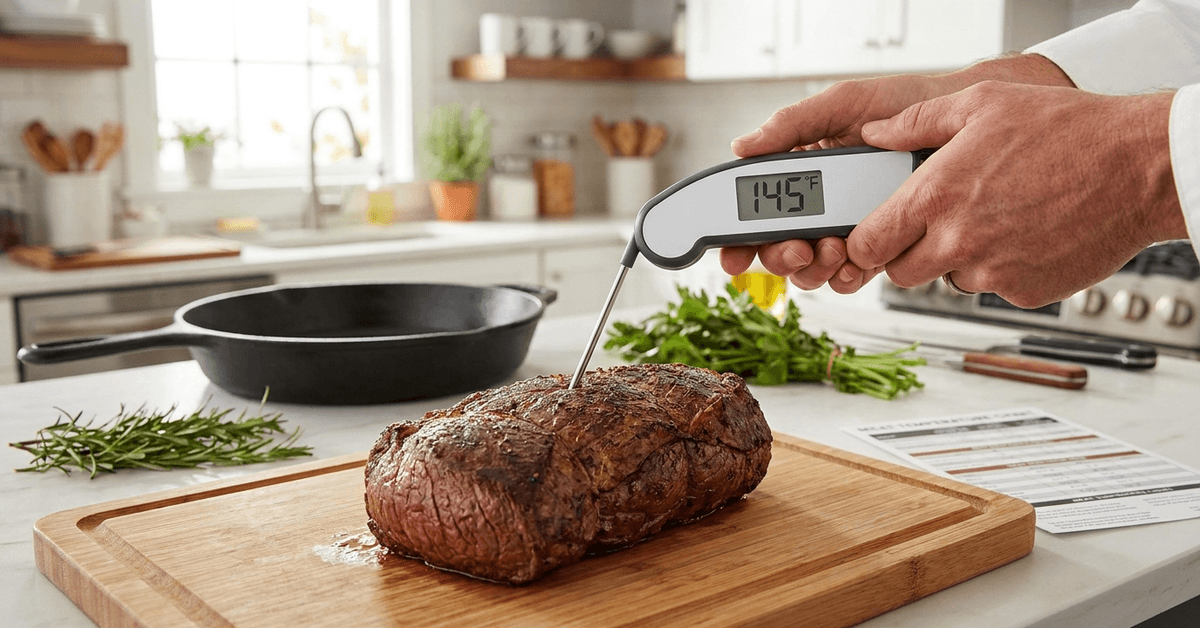
Cooking meat to the right temperature helps avoid unsafe or overcooked results. An instant-read thermometer provides a quick way to check doneness without relying only on appearance.
This guide explains safe temperatures, probe placement, calibration, and cleaning. It also covers common mistakes and consistent cooking habits.
Understanding Instant-Read Meat Thermometers
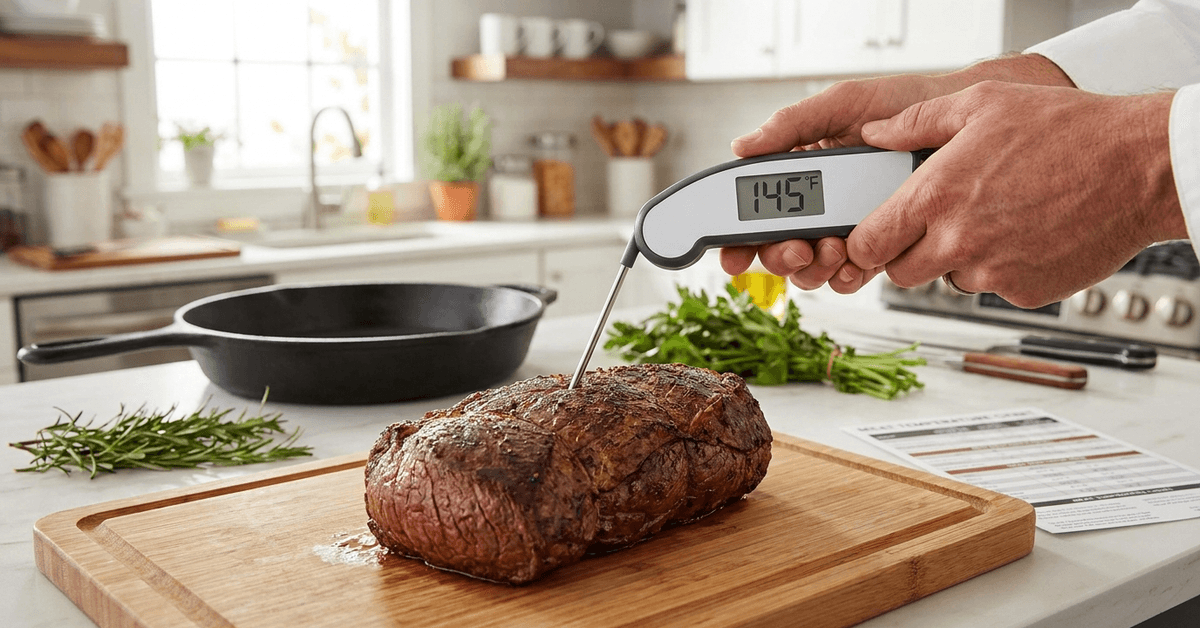
An instant-read thermometer measures the internal temperature of food through a metal probe. Understanding its designs and parts supports correct use.
Main Types of Instant-Read Thermometers
Digital and dial thermometers offer different reading speeds and operating styles. Both work well when used according to instructions.
- Digital probe thermometers: Fast readings with battery power.
- Dial analog thermometers: Battery-free with slower response.
Key Components That Matter
The probe, display, and controls determine how easily the thermometer provides an accurate reading. Keeping these main parts clean supports reliable use.
- Probe tip: Reaches the meat center.
- Display screen: Shows temperature.
- Power button and battery cover: Control digital models.
Why Accurate Temperature Matters for Cooking Meat?
Temperature checking supports food safety while reducing unnecessary overcooking. Appearance alone cannot reliably confirm the internal temperature of meat.
Food Safety Standards
Safe minimum temperatures vary by meat type, so use the right temperature target. USDA guidance also requires a three-minute rest after whole cuts of beef and pork reach 145°F (63°C).
- Chicken and poultry: 165°F (74°C).
- Beef steaks and roasts: 145°F (63°C), plus three minutes of rest.
- Ground beef, pork, lamb, and veal: 160°F (71°C).
- Pork chops and roasts: 145°F (63°C), plus three minutes of rest.
How to Use an Instant-Read Meat Thermometer Efficiently?
Good technique improves temperature accuracy and limits unnecessary heat loss. Preparing it first keeps the checking process quick.
Preparation Before Cooking
A clean thermometer should be ready before meat nears completion. Basic preparation steps also support hygiene.
- Choose a thermometer that feels secure.
- Clean the probe tip before use.
- Dry the probe completely.
- Check battery power.
Measuring Internal Meat Temperature
Probe position matters because different areas can reach different temperatures. Measure the thickest section while avoiding bone and the pan.
- Insert the probe into the thickest part.
- Avoid bone, fat, gristle, or the pan.
- Wait until the display reading stabilizes.
- Check another spot on large cuts if needed.
- Compare with the safe minimum temperature.
After Each Use
Cleaning after every check reduces cross-contamination risk between foods. Many thermometer bodies should not be fully submerged.
- Wash the metal probe with mild soap and warm water.
- Keep water away from non-waterproof electronics.
- Sanitize after raw poultry or ground meat.
- Dry completely before storage.
Special Tips for Accurate Results
Small technique changes can improve measurement consistency during cooking. These habits help with irregular cuts.
Placement Is Everything
For thick meat, aim for the deepest central area without touching bone. Thin cuts are easier to measure from the side. Another spot can reveal uneven cooking.
Timing Your Read
Allow time for the reading to stabilize before removing the probe. Response time differs by model. Checking near the end of cooking also limits repeated heat loss.
Keeping Multiple Thermometers
A second thermometer can serve as a backup tool during large meals. It can also confirm an unexpected reading. Both need the same cleaning and calibration care.
Calibration and Maintenance for Reliable Use
Periodic checks help confirm that the thermometer remains reasonably accurate. Calibration and storage should match the specific model.
Checking Accuracy
Many thermometers can be checked with an ice-water test when allowed. Adjustment procedures differ, so use the correct method.
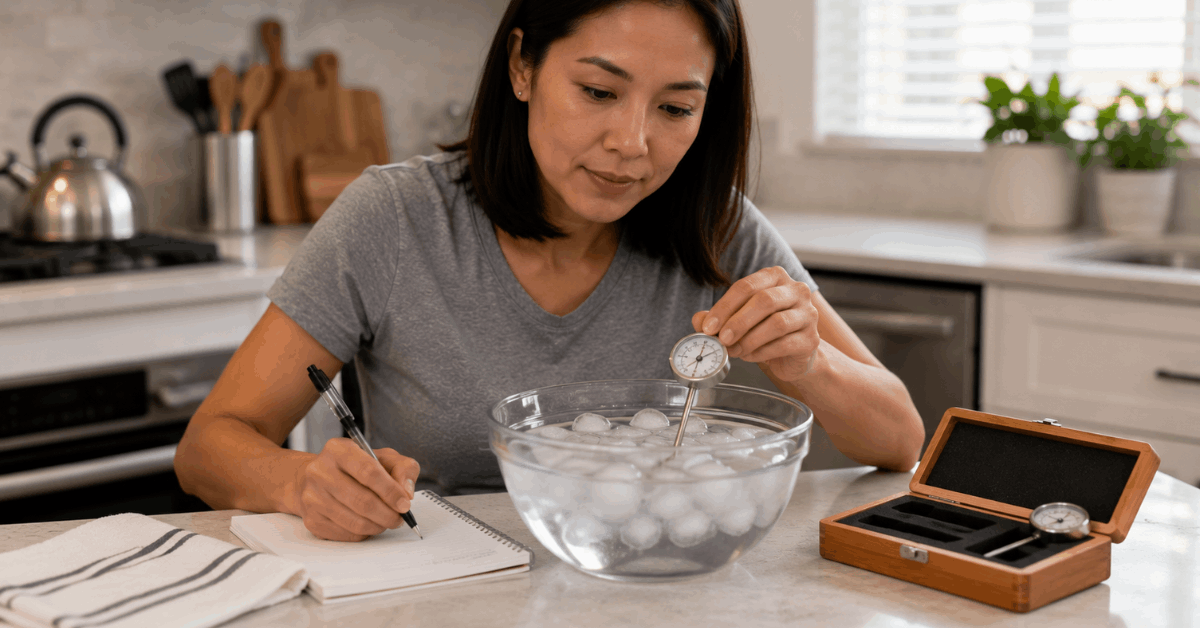
- Use the manufacturer’s recommended accuracy check.
- Use ice water when permitted.
- Adjust analog models only as directed.
- Reset digital models only when supported.
Storage Practices
Proper storage protects the probe tip from bending and contamination. Keep the thermometer dry and accessible.
- Use the protective sheath when provided.
- Store away from heat or moisture.
- Keep digital areas dry.
Common Mistakes and Troubleshooting
Most inaccurate readings come from poor placement or incorrect use. Checking common problems can restore reliable measurements.
Frequent Issues in Measurement
Small errors can make the thermometer read the wrong temperature zone. Review placement when results seem inconsistent.
- Testing against bone or the pan
- Inserting the probe too shallowly
- Using a dirty or damaged probe
- Reading before stabilization
- Using a weak battery
Small Fixes
If a reading seems wrong, clean the probe and test a different location. Confirm accuracy with the approved method and replace weak batteries. Persistent errors may mean replacement is needed.
Cleaning and Maintenance for Appliance Longevity
Routine care protects against food residue and moisture. Gentle cleaning keeps the probe ready for repeated temperature checks.
Step-by-Step Cleaning Routine
Clean soon after use so residue does not dry onto the probe. Keep liquids away from electronics unless the model allows water exposure.
- Switch off the thermometer.
- Wash the metal probe with mild soap.
- Use a soft cloth or sponge.
- Wipe the handle lightly when permitted.
- Sanitize when necessary.
- Dry thoroughly.
Replacement Tips
Thermometers can wear over time, especially if probes bend or displays become unreliable. Slow or inconsistent readings can indicate device wear. Replace the thermometer when maintenance no longer restores dependable performance.
Comparing Instant-Read to Other Meat Thermometers
Instant-read and leave-in thermometers serve different cooking purposes. The difference helps cooks choose the right thermometer.
Leave-In vs. Instant-Read
Leave-in models monitor food continuously, while instant-read models provide short spot checks. Use each according to its intended design.
- Leave-in thermometers: Remain in suitable food during cooking.
- Instant-read models: Are inserted briefly near the end.
A product such as the ThermoWorks Thermapen ONE is an example of a dedicated instant-read thermometer. Always follow the product instructions for use and cleaning.
Smart Kitchen Routines for Meat Thermometer Users
Building it into meal prep makes temperature checking easier. A consistent setup supports cleaner, more organized cooking.
Routine Building
Preparing the thermometer early keeps it nearby as meat nears completion. Simple kitchen habits make checks faster.
- Set out the thermometer before cooking.
- Keep the probe clean.
- Check several pieces when sizes vary.
- Record preferred temperatures while meeting safety guidance.
Sanitizing Surfaces
Wash hands and clean surfaces after contact with raw meat juices. Keep the clean thermometer away from contaminated utensils. These hygiene habits reduce cross-contamination after cooking.
Conclusion: Mastering Instant-Read Meat Thermometers for Reliable Results
An instant-read thermometer checks meat more reliably than appearance alone. Correct probe placement, safe targets, and regular cleaning support reliable results.
Calibration checks and careful storage keep the tool dependable. With a consistent routine, temperature checking becomes a simple part of safer cooking.