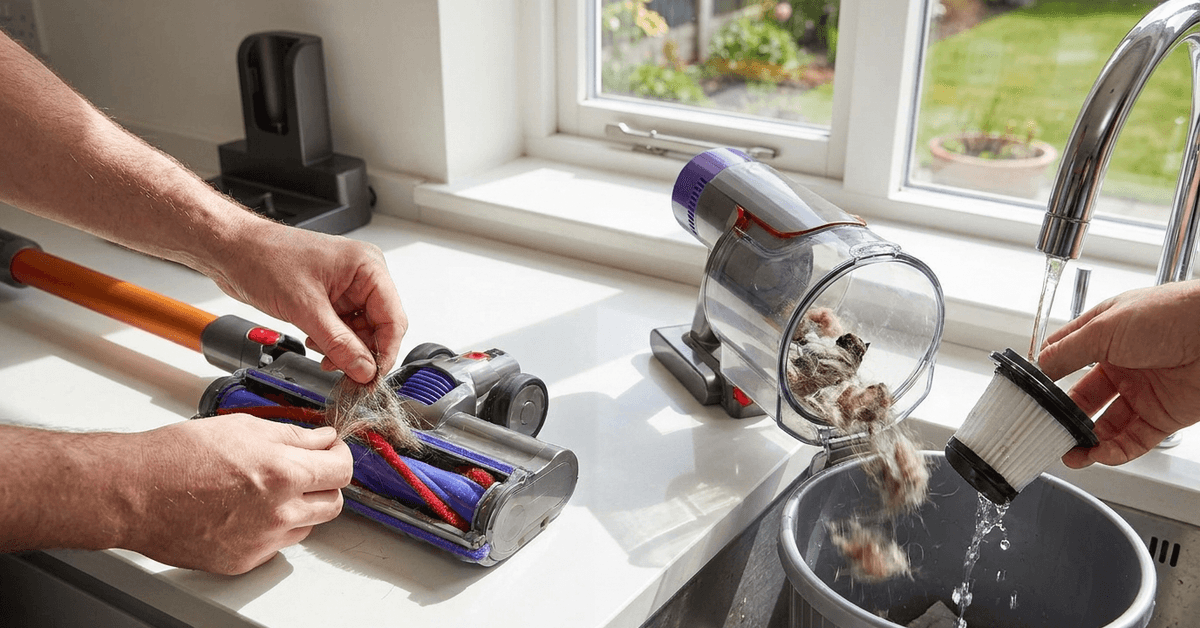
Maintaining strong suction on a cordless vacuum is easier when routine care becomes part of cleaning. Filters, dust bins, brush rolls, batteries, and seals can affect airflow performance.
This guide explains how to inspect, clean, and maintain these components safely. It also covers replacement parts, attachments, service signs, and a practical maintenance schedule.
Understanding Cordless Vacuum Suction Basics
Cordless vacuum suction depends on clear airflow and properly maintained filters and seals. Small maintenance habits can prevent performance drops before they interrupt cleaning.
Common Causes of Reduced Suction
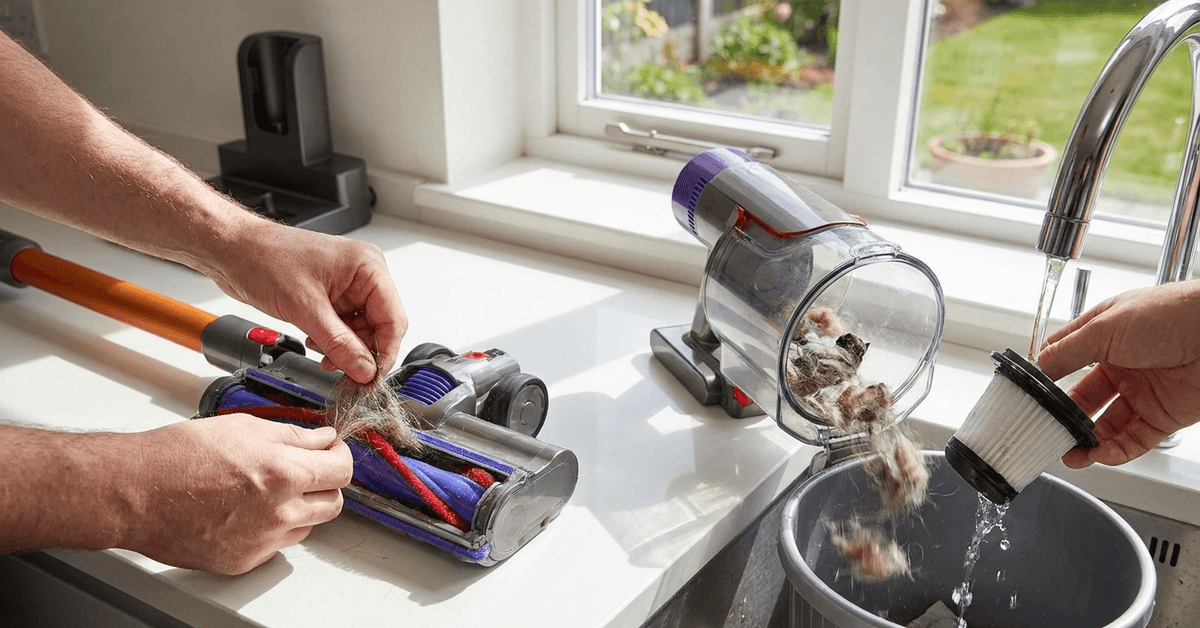
Several everyday issues can restrict vacuum airflow even when the motor still runs. Checking filters, bins, brushes, and passages first can identify common problems.
Clogged Filters
Dirty filters can restrict air movement as fine dust accumulates. Regular inspection shows when cleaning or replacement is needed. Follow the filter instructions for your specific model.
Full or Dirty Dust Bins
An overfilled dust container can reduce available airflow and debris pickup. Emptying it before the fill line helps maintain performance. Wiping accessible surfaces can reduce fine-dust buildup.
Obstructed Brush Rolls and Air Paths
Hair and fibers can wrap around brush rolls or block passages. These obstructions may reduce pickup and interfere with movement. Frequent inspection keeps debris pathways clear.
Routine Steps to Maintain Suction Power
A regular routine keeps airflow components easier to inspect. Match cleaning frequency to usage and the manufacturer schedule.
Cleaning and Swapping Filters
Filter care varies because some filters are washable while others need replacement. Confirm the filter type before using water.
- Check filters regularly for visible dust.
- Rinse only filters labeled washable.
- Let washable filters dry completely before reinstalling.
- Replace damaged or non-washable filters as directed.
Emptying the Dust Cup Correctly
A clear dust cup gives debris room to enter the collection chamber. Empty it regularly and avoid overfilling.
- Remove the dust cup as directed.
- Empty debris completely.
- Tap gently only when permitted.
- Wipe accessible surfaces with a dry cloth.
Removing Debris From Brush Rolls
Brush rolls collect hair quickly, especially around pets. Inspect the roller area so tangles do not stop rotation.
- Remove accessible hair and fibers carefully.
- Use the supplied cleaning tool when available.
- Avoid cutting bristles or roller surfaces.
- Confirm normal movement before reassembly.
Battery Maintenance and Its Impact on Suction
Battery condition can influence how consistently the vacuum delivers cleaning power. Charging and storage should follow the battery guidance supplied with the appliance.
Charging Cycles and Storage
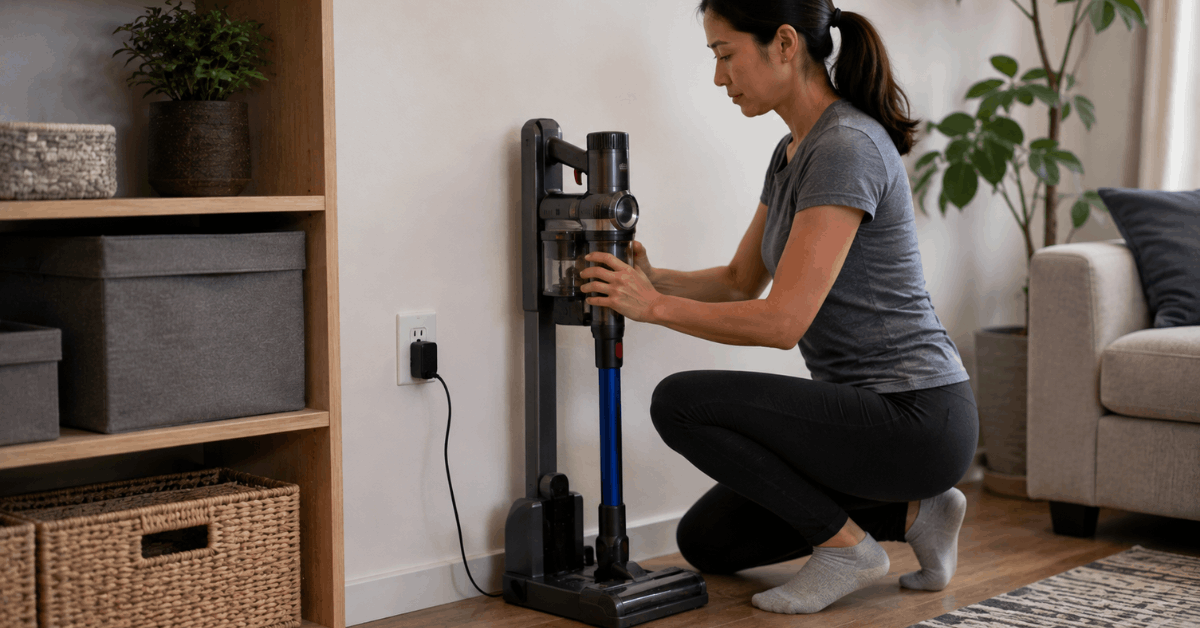
Battery care varies by manufacturer, so model-specific directions matter. Store the vacuum in a dry location away from excessive heat.
- Let the unit cool after demanding use when recommended.
- Use approved charging equipment.
- Avoid extreme heat or moisture.
- Follow long-term storage instructions.
When to Replace the Battery?
A battery may need replacement when run time becomes consistently short despite normal charging. Clear filters and passages before assuming the battery is responsible. Use a compatible replacement approved for the specific model.
Correct Assembly and Seals
Loose joints or damaged seals can create air leaks that reduce suction. Correct assembly helps preserve sealed airflow.
Checking All Seals and Fittings
Inspect connections whenever performance changes unexpectedly. Gaskets and click-in fittings should sit securely without damage. Careful reassembly can correct minor leaks caused by poor alignment.
Replacing Worn Parts
Worn seals or connectors can compromise vacuum performance. Inspect replaceable parts periodically and use model-compatible pieces.
- Check gaskets, joints, tubes, and fittings for damage.
- Replace worn pieces instead of forcing connections.
- Order compatible parts through the official manufacturer when possible.
An official Dyson V15 Detect product page shows one current cordless vacuum line and included attachments. Checking the exact model page helps confirm compatible equipment before ordering parts.
Managing Specialized Attachments
Attachments can develop airflow restrictions when lint collects inside narrow openings. Cleaning them separately helps maintain consistent pickup.
Cleaning Crevice and Pet Attachments
Crevice and pet tools often collect lint and fur inside narrow channels. A soft brush can loosen accessible debris without damaging the opening. Inspect both ends before reconnecting the cleaning attachment.
Using Turbo or Motorized Attachments
Motorized heads combine suction with moving brushes, so several areas can cause problems. Detach the accessory safely and inspect its air inlet and roller.
- Remove hair around the rotating brush.
- Check narrow passages for blockage.
- Reattach the head before testing vacuum performance.
Recognizing When Professional Service Is Needed
Persistent weak suction after basic maintenance may indicate an internal problem involving the motor or inaccessible passages. Unusual noises, burning smells, repeated shutdowns, or electrical damage justify qualified service.
- Contact the manufacturer or an authorized service provider if home maintenance does not solve the issue.
Avoid opening sealed electrical sections unless they are user-serviceable. Professional diagnosis can prevent further damage.
Optimal Usage Habits for Long-Term Suction
Everyday habits can reduce clogs and tangles before they restrict airflow. Use the vacuum only for materials allowed by the product manual.
- Avoid wet debris unless the vacuum allows liquid pickup.
- Remove coins, wrappers, or long strings before vacuuming.
- Inspect filters and brushes after pet areas or high-pile rugs.
- Stop and check the machine if airflow changes suddenly.
Cleaning Schedule Framework
A simple schedule makes routine maintenance easier to remember. Adjust intervals according to usage and manufacturer recommendations.
| Task | Suggested Check |
|---|---|
| Check filters | Regularly or as directed |
| Empty dust bin | Before the maximum fill line |
| Inspect brush rolls | Every few cleaning sessions |
| Inspect attachments | Monthly or when performance changes |
| Check battery condition | When run time declines |
Best Materials for Replacement Parts
Replacement parts should match the appliance’s original specifications for size, material, and compatibility. Correct components help maintain proper airflow, sealing, and overall performance.
Replacement Filters
Choose filters designed specifically for the appliance model whenever possible. The correct size and material help maintain proper airflow and filtration. Check the model number before purchasing a replacement filter.
Replacement Gaskets
Gaskets should match the original shape, thickness, and material specifications. A poorly fitting gasket can reduce sealing performance and affect efficiency. Manufacturer-approved replacements can make compatibility easier to confirm.
Replacement Attachments
Attachments should connect securely without forcing or modifying the appliance. Confirm that each accessory is compatible with the exact model before ordering. Properly matched attachments help maintain safe and reliable operation.
Conclusion
Maintaining cordless vacuum suction depends on regular inspection of filters, bins, brush rolls, batteries, and seals. Clearing blockages and replacing worn parts with compatible components can prevent performance drops.
Careful charging, correct assembly, and model-specific maintenance also support reliable cleaning. With a consistent routine, cordless vacuums can remain ready for regular household tasks.