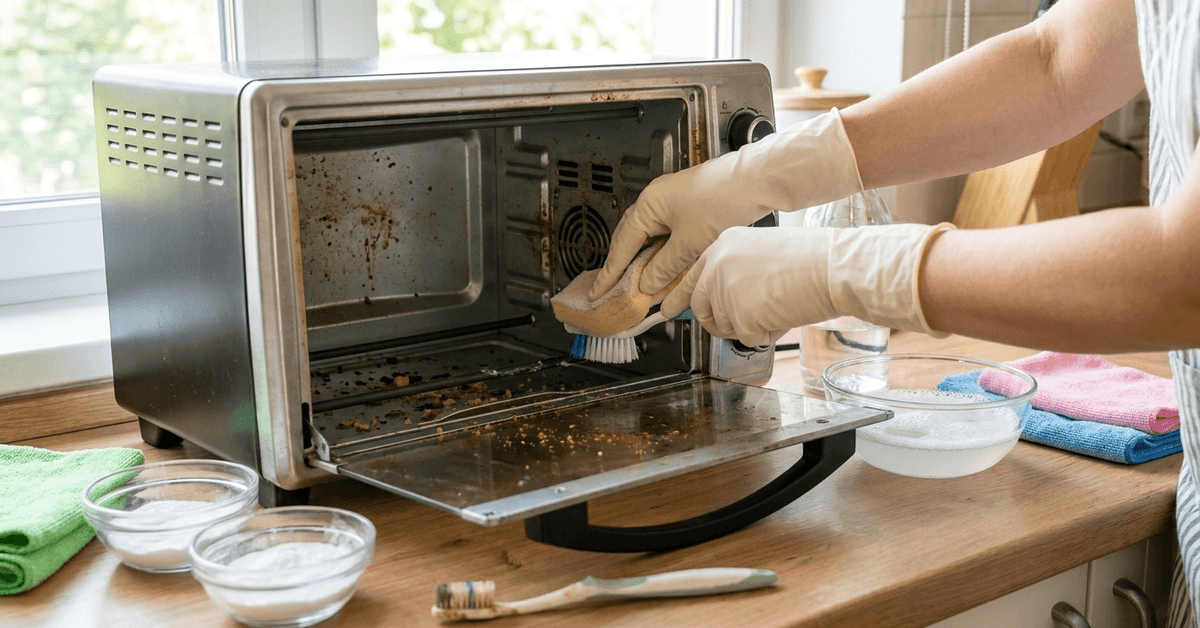
Countertop toaster ovens offer convenience and versatility, but residue and grease quickly accumulate inside. Over time, this buildup can reduce efficiency, affect flavors, or pose potential fire hazards.
This guide outlines proven methods for deep cleaning a toaster oven interior to help owners maintain both performance and safety with minimal hassle.
Why Deep Cleaning Your Toaster Oven Interior Matters?
Grease splatters, crumbs, and baked-on residue are common offenders. Many users find that frequent light cleaning is not enough. Over months, these residues harden and start to affect both cooking quality and appliance safety.
Longevity and Performance
A neglected oven interior struggles with hot spots and slow heating. Residue can block air flow and interfere with heating elements. Cleaning regularly helps maintain consistent cooking and extends the appliance’s lifespan.
Health and Safety
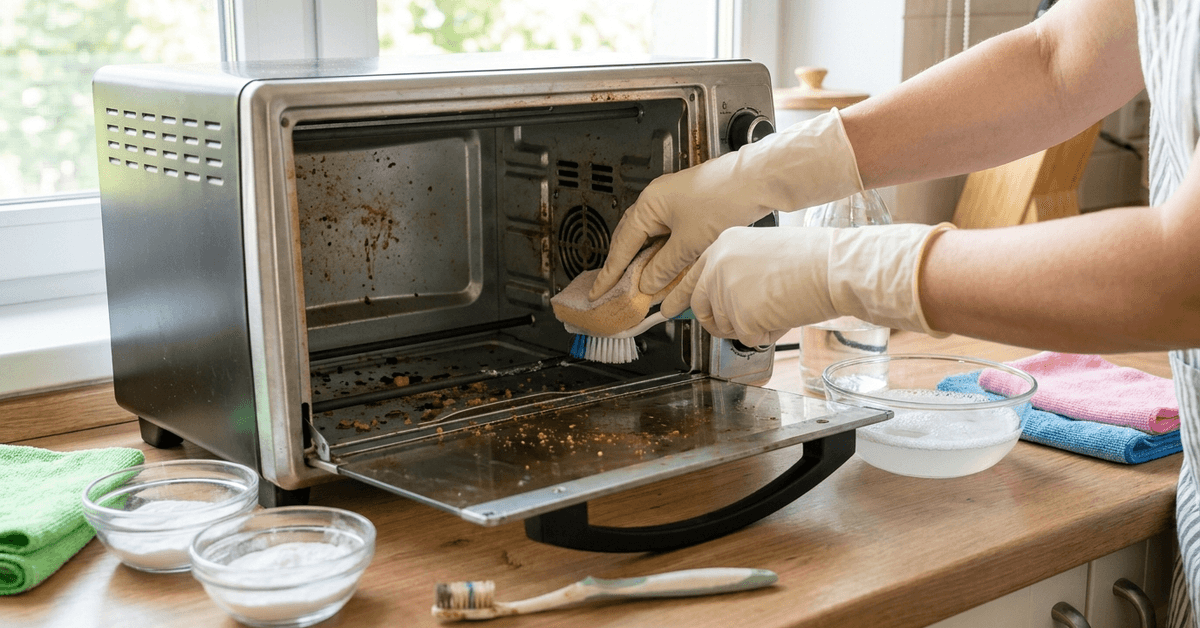
Old food and grease can harbor bacteria or create smoke during use. Excess build-up may even increase fire risk if left unchecked. Deep cleaning reduces unpleasant odors and supports safer kitchen practice.
What You’ll Need for a Safe, Thorough Cleaning
Choosing the right supplies protects both the oven’s finish and your health. Most owners prefer gentle, non-abrasive tools to avoid damage. Typical cleaning processes require:
- Baking soda (for gentle scrubbing power)
- White vinegar (for dissolving grease)
- Mild dish soap
- Soft sponge or microfiber cloth
- Non-scratch nylon scrub brush
- Old toothbrush (for corners and details)
- Plastic or silicone spatula
- Paper towels
- Spray bottle with water
- Rubber gloves (optional, for skin protection)
Harsh cleansers and metal scouring pads are best avoided. They often damage non-stick interior surfaces or leave permanent scratches.
Pre-Cleaning Checks: Preparation and Safety Tips
Proper preparation helps make toaster oven cleaning safer and more effective. Cooling the appliance and removing detachable parts first can also simplify the cleaning process and reduce risks.
Unplug and Cool Down
Always unplug the toaster oven before cleaning. Allow the appliance to cool down fully. This step prevents accidental burns and electrical risks.
Remove and Soak Loose Parts
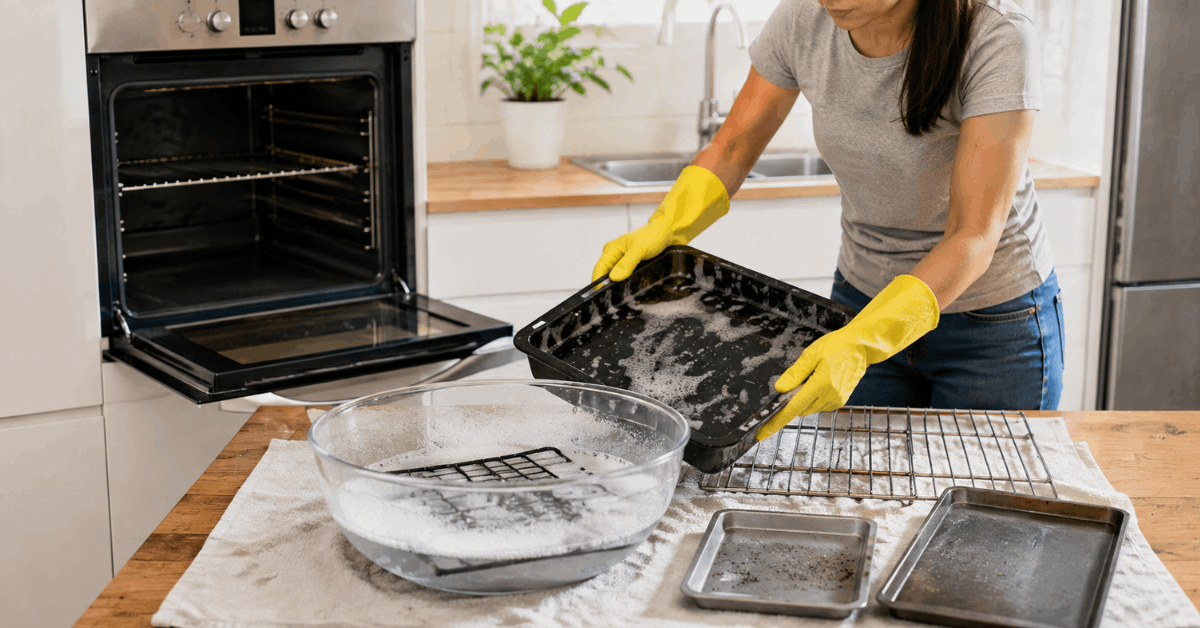
Many homeowners start by taking out racks, crumb trays, and any removable pans. Soaking these items in warm soapy water makes later scrubbing easier.
Inspect for Electrical Components
Never submerge the main oven body or wet electrical connectors. Many interiors have exposed elements or wires. Only clean the inner walls and safe areas.
Step-by-Step Process: Deep Cleaning the Toaster Oven Interior
Deep cleaning helps remove crumbs, grease, and baked-on residue from hard-to-reach areas. Working in stages can make the process safer, easier, and more effective.
1. Remove Debris and Loose Crumbs
Shake or gently tap the toaster oven (with the door open) over a trash bin. Use a small brush or cloth to sweep crumbs from corners and under the heating elements.
2. Pre-Treat Grease and Stuck-On Spots
A popular approach is to spray stubborn areas with diluted vinegar. Let this sit for five to ten minutes. For thick buildup, pat a baking soda paste onto the grime.
3. Wipe, Scrub, and Repeat
Using a damp sponge with a drop of dish soap, begin scrubbing the oven walls and bottom. A non-scratch nylon brush helps in textured or hard-to-reach areas. Rinse the sponge frequently to avoid redistributing grease.
4. Pay Attention to Heating Elements
Heating elements are fragile and best cleaned with caution. Many experts recommend gently wiping these with a barely damp cloth. Scrubbing or soaking is not advised, as this could cause permanent damage.
5. Address Corners and Seals
Use an old toothbrush or cotton swab for seals, corners, hinges, and small crevices. Careful attention here prevents odor buildup. Move slowly to avoid loosening any gaskets.
6. Final Rinse and Air Dry
Once residue is removed, wipe all interior surfaces with a clean, water-dampened microfiber cloth. Allow the oven to air dry with the door open before reassembling parts or plugging in.
Special Material Considerations
Toaster oven interiors, including models from Breville, may use various finishes, including non-stick, stainless steel, or porcelain coating.
Each material has unique cleaning needs. Reviewing the manufacturer’s manual provides appliance-specific guidance.
Non-stick Interiors
These surfaces scratch easily. Mild dish soap and a soft sponge prove effective. Abrasive powders or metal brushes cause irreversible damage over time.
Stainless Steel
Stainless finishes respond well to vinegar or baking soda. Wipe in the direction of the metal grain. Avoid bleach and chlorinated cleaners, which can discolor the surface.
Porcelain Coating
Porcelain is durable but still benefits from gentle cleaning. Acidic products can dull the finish. Test any cleaning solution on a hidden spot before widespread use.
Cleaning the Door Glass
Oven door glass can quickly collect grease, fingerprints, and baked-on residue. Regular cleaning helps maintain visibility and keeps the appliance looking fresh.
Remove Everyday Grease
Use a suitable glass cleaner or a diluted vinegar-and-water solution for routine wiping. Apply the cleaner with a soft cloth or non-abrasive sponge. Wipe the glass dry afterward to reduce streaks.
Treat Caked-On Stains
Apply a baking soda paste to stubborn residue and let it sit for about ten minutes. Gently scrub the area with a soft cloth or sponge until the buildup loosens. Wipe away the paste thoroughly and dry the glass before using the oven.
How Often Should Deep Cleaning Happen?
Cleaning frequency depends on how often the oven is used and how quickly residue builds up. Regular light cleaning can make deeper cleaning easier.
Follow a Regular Cleaning Schedule
Deep clean every one to two weeks if the oven is used frequently. Monthly cleaning may be enough for occasional use. Clean sooner after major spills, heavy grease buildup, or smoky cooking incidents.
Clean Between Deep Sessions
Remove crumbs and wipe away fresh grease after each use. Regular maintenance prevents residue from becoming baked onto surfaces. This also helps keep the oven performing efficiently between deeper cleanings.
Best Practices for Maintaining a Clean Oven
Simple habits can reduce grease, crumbs, and food residue inside the oven. Preventive care also makes future cleaning faster and easier.
Prevent Spills and Drips
Use suitable roasting or baking trays to catch drips from messy foods. Wipe spills promptly once the oven has cooled enough for safe cleaning. Keeping the crumb tray clean also prevents loose debris from accumulating.
Clean Safely After Use
Always allow the oven to cool before beginning any cleaning task. Use soft cloths or non-abrasive tools to protect interior surfaces. Regularly inspect removable trays and racks for buildup that needs attention.
What Not to Do: Common Pitfalls
Avoiding harsh cleaning methods can help protect the toaster oven’s surfaces and electrical components. Careful handling also reduces the risk of scratches, damage, and performance problems.
- Avoid spray cleaners near heating elements
- Never immerse the appliance body in water
- Skip abrasive tools that scratch or strip coatings
An overly aggressive approach can void warranties and harm the oven’s performance.
Conclusion: Achieve Safe, Fresh Cooking Every Time
A routine deep clean revives toaster oven function, preserves food flavor, and extends appliance lifespan. Smart upkeep using baking soda paste and gentle methods is both time-efficient and effective.
Safe, attentive practices reduce the risk of odors or smoke and support every family’s goal of healthy, quick meals. Perhaps every home finds its own rhythm with cleaning, but regular care is the surest way to keep your countertop toaster oven running reliably for years.