Cleaning an electric food processor base is a task many overlook, yet it is essential for safety, performance, and appliance longevity. For owners of kitchen gadgets who value efficiency and durability, keeping the base clean can prevent odor, malfunction, and potential electrical risks.
The guidance below is structured for those who rely on their appliances daily and want to maximize value with minimal time wasted.
Understanding the Electric Food Processor Base
The base is the main electrical component of any food processor. It houses the motor, controls, and sometimes ventilation openings. On many models, the control panel is particularly sensitive to moisture and debris.
Plastic and metal are the most common materials for the casing, while rubber feet or pads provide stability. Each of these requires a specific cleaning approach.
Why Proper Cleaning Matters?
Proper cleaning helps keep appliances safe, hygienic, and reliable during everyday use. Regular maintenance can also prevent residue from causing unnecessary wear or performance issues.
Protects Internal Components
Food and liquid spills can seep into small openings around appliance surfaces. Moisture reaching electrical components may cause odors, malfunctions, or other problems.
Cleaning spills promptly reduces the chance of residue reaching sensitive areas. Always disconnect power before cleaning near electrical components.
Preserves Buttons and Switches
Grease and sticky food residue can collect around buttons, switches, and sliders. Buildup may make controls harder to press or operate smoothly.
Regular wiping helps keep these areas clean and responsive. Use a lightly damp cloth rather than allowing liquid to enter control openings.
Maintains Hygiene
Food splatters can accumulate around seams, edges, and other difficult-to-reach areas. Leftover residue may create unpleasant odors and encourage bacterial growth.
Routine cleaning helps maintain a more sanitary food preparation area. Paying attention to cracks and corners prevents buildup from becoming harder to remove.
Tools and Supplies for Safe Cleaning
Using gentle cleaning supplies helps protect appliance surfaces from scratches and unnecessary wear. Having the right tools ready can also make detailed cleaning faster and more controlled.
- Microfiber cloth (soft, lint-free)
- Cotton swabs
- Mild dish soap
- Soft-bristled toothbrush
- White vinegar (optional for tough stains)
- Small bowl of water
Avoid abrasive sponges or pads that can scratch the finish.
Step-by-Step: The Right Way to Clean the Base
Cleaning the food processor base carefully helps remove dust and residue without exposing electrical parts to moisture. A simple preparation routine also makes surface cleaning safer and more thorough.
Preparation and Unplugging
- Unplug the food processor base fully to prevent any electric shock.
- Remove all attachments, bowls, blades, and cover, setting them aside for separate cleaning.
Surface Debris Removal
- Wipe down the entire exterior of the base with a dry microfiber cloth to collect crumbs and dust.
- Pay extra attention to air vents and seams where debris collects most.
Cleaning the Controls and Seams
- Slightly dampen a microfiber cloth with water and one small drop of mild dish soap.
- Gently wipe the control panel, switches, and buttons. Minimal water is key to avoid liquid entering internal parts.
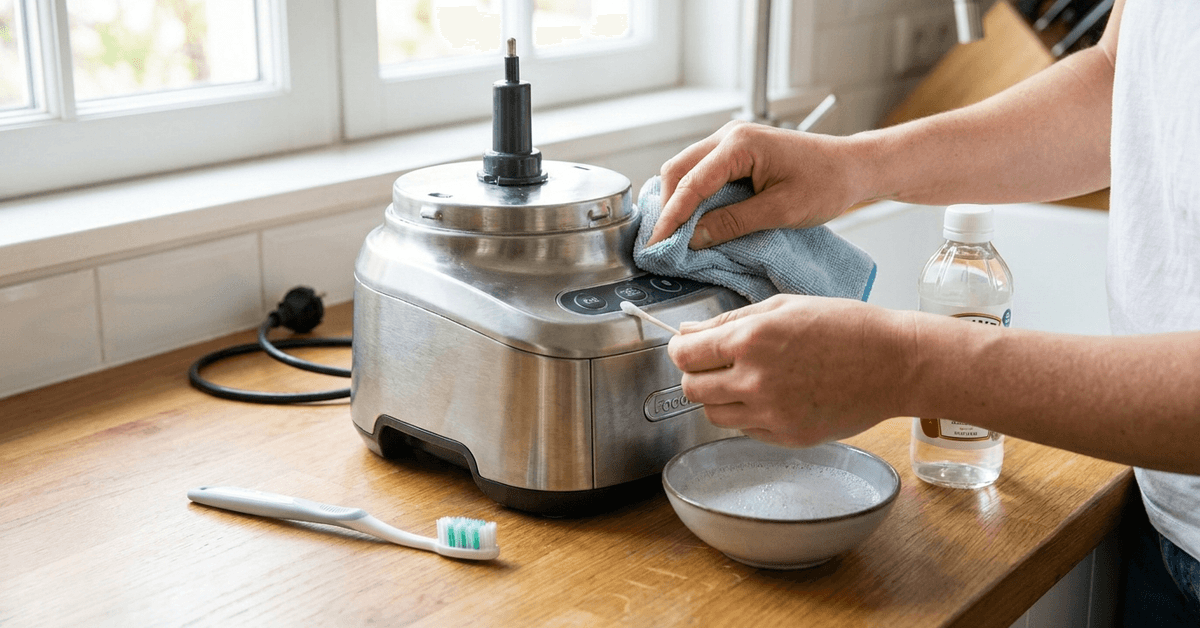
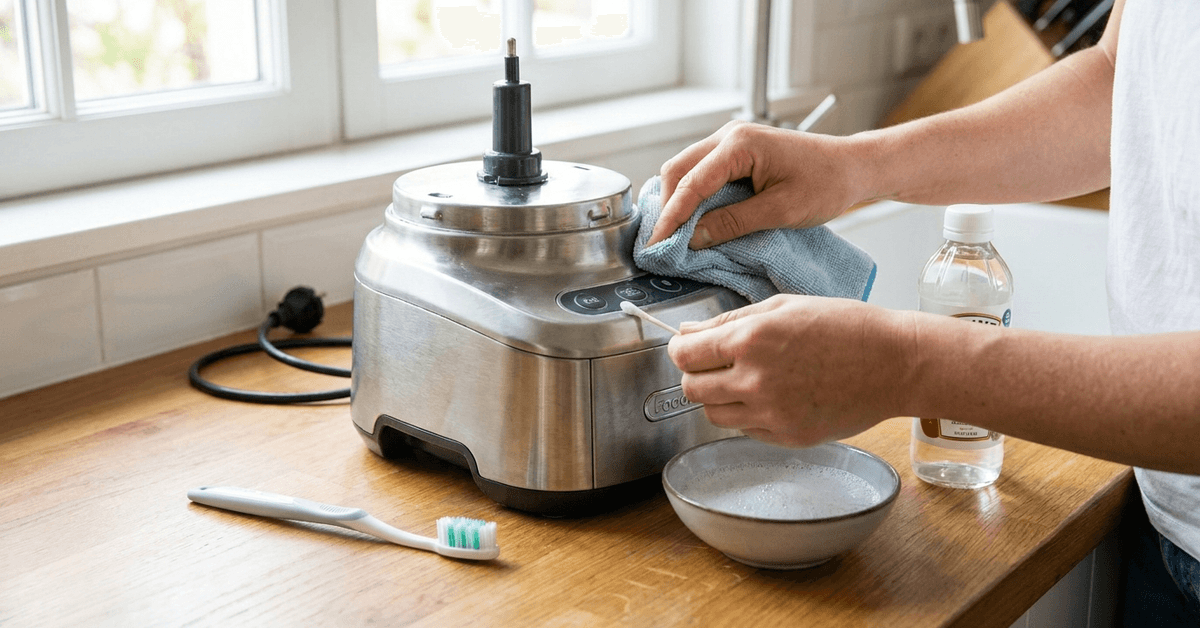
- For tight spaces, many home efficiency experts use a cotton swab lightly moistened with soapy water, moving it around buttons or knobs.
- If any residue remains on rubber feet or hard-to-reach areas, a soft-bristled toothbrush can dislodge it safely.
Removing Stubborn Spots
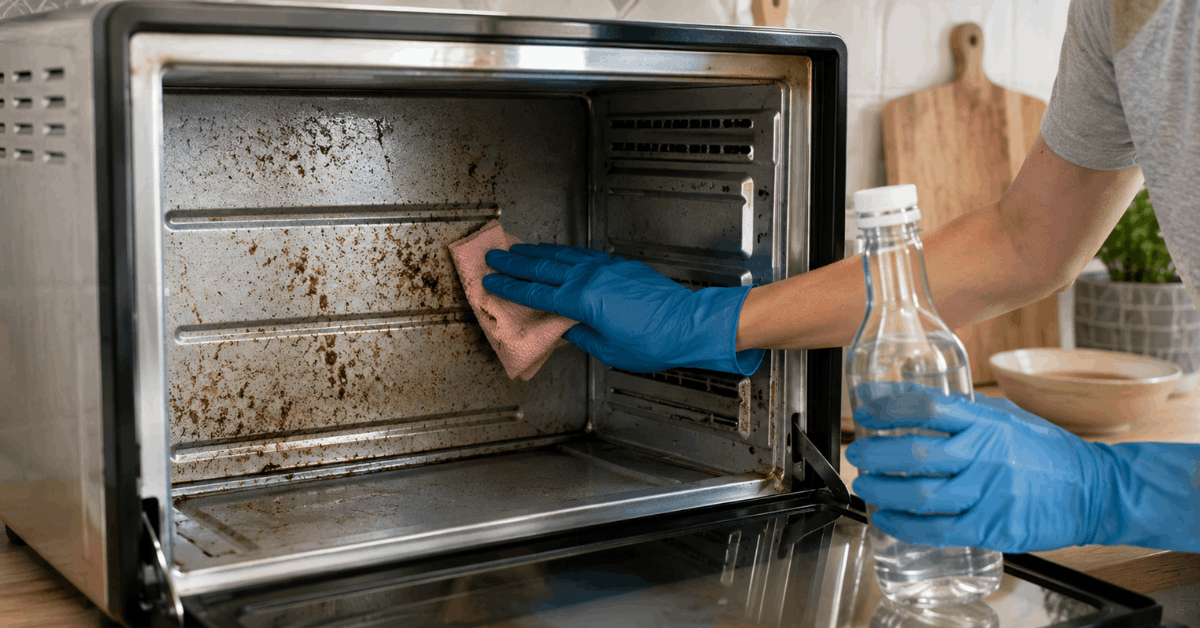
- If stains persist, a bit of white vinegar on a cloth may help dissolve dried food.
- Apply gently and very sparingly. Avoid direct liquid contact with any electrical opening or vent.
Drying Completely
- Follow all cleaning with a fully dry microfiber cloth.
- Ensure no trace of dampness remains, especially around seams and ventilation slots.
- Do not reassemble the food processor or reconnect power until the base is completely dry.
Special Considerations for Different Materials
Different food processor base materials require slightly different cleaning methods. Using the right approach helps prevent scratches, streaks, and surface damage.
Plastic Bases
Some food processor bases, including models from KitchenAid, are made of glossy plastic that shows smudges easily. Many people have found a gentle buff with a clean, dry microfiber removes fingerprints efficiently.
Metal or Stainless-Steel Bases
Stainless-steel bases should be cleaned with soft, non-abrasive materials. A lightly damp cloth can remove grease and everyday residue.
Diluted vinegar may help reduce streaks if the manufacturer permits its use. Always wipe and dry in the direction of the metal grain when possible.
Rubber Feet or Pads
Rubber feet can collect crumbs, grease, and sticky residue over time. Wipe them regularly with a damp cloth to keep the surface clean.
Removing buildup helps the appliance remain stable on the countertop. Make sure the feet are completely dry before using the processor again.
Cleaning Frequency and Smart Habits
Consistent maintenance helps keep the food processor base cleaner and easier to manage over time. Regular light cleaning can also prevent residue from building up in seams, controls, and vents.
- Wipe the base after every session for best results.
- Deep clean all crevices and controls weekly if used daily.
- Avoid waiting until visible dirt appears; maintenance is usually quicker than heavy cleaning.
What Not to Do: Essential Safety Tips
Safe cleaning practices help protect the appliance’s electrical components and exterior finish. Avoiding excess moisture and harsh products can also reduce the risk of damage or malfunction.
- Never submerge the base in water, even for a short time.
- Never spray liquid directly onto buttons or openings.
- Never attempt to open the base housing to clean internal wiring.
- Avoid harsh chemicals or bleach, which can degrade plastic and markings.
Quick Comparison: Suitable Tools
Choosing the right cleaning tool helps remove residue without scratching or damaging appliance surfaces. Each option works best when used gently and with minimal moisture.
| Tool | Best For | Not Recommended If |
|---|---|---|
| Microfiber cloth | General wiping, drying | Soaked or sopping wet |
| Cotton swab | Detailing cracks, buttons | Overly wet or forced into vents |
| Toothbrush | Removing dried residues | Firm scrubbing on plastic |
Conclusion: The Smart Approach Pays Off
Regular cleaning helps keep an electric food processor base working safely and efficiently. Simple habits like wiping spills quickly and keeping moisture away from controls can prevent buildup.
Using suitable cleaning methods may also help reduce wear and extend the appliance’s lifespan. With consistent care, the food processor can remain reliable and ready for everyday kitchen tasks.