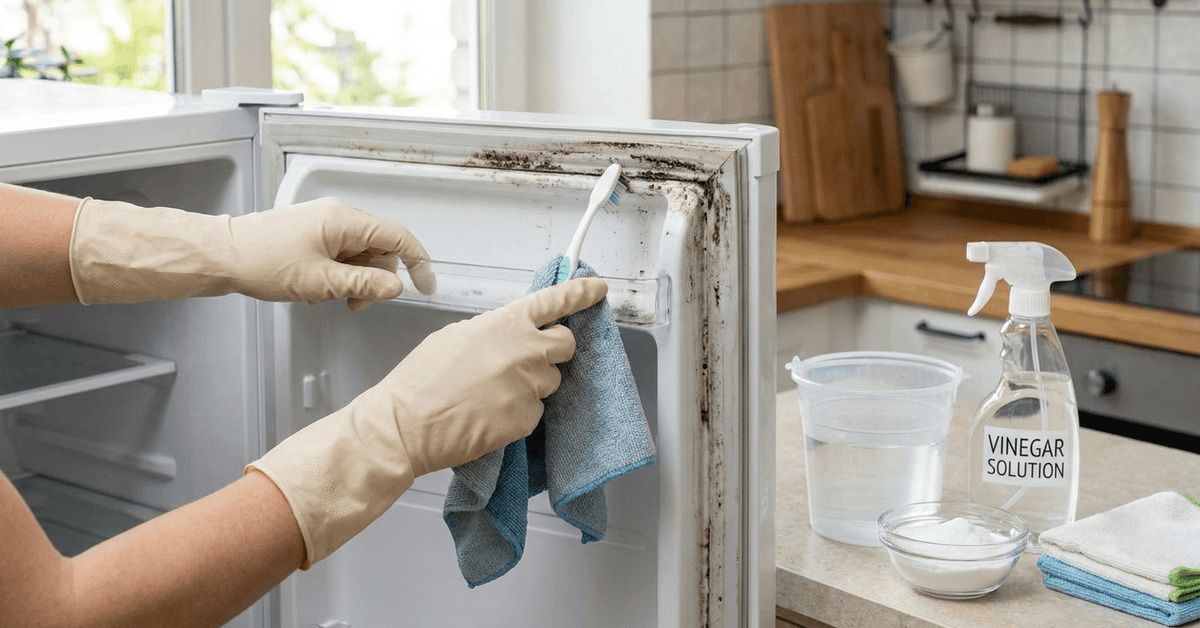
Mold can quickly develop in refrigerator door seals where moisture and food residue collect. If ignored, it may cause odors, hygiene concerns, and problems with the refrigerator’s seal.
This guide explains how to remove mold safely using simple cleaning supplies and proper techniques. It also covers prevention tips, gasket maintenance, humidity control, and signs that professional service may be needed.
Understanding Why Mold Grows on Refrigerator Door Seals
The rubber gasket on a fridge door is designed to keep cold air inside and moisture out. Yet, over time, moisture can become trapped within the folds of this seal.
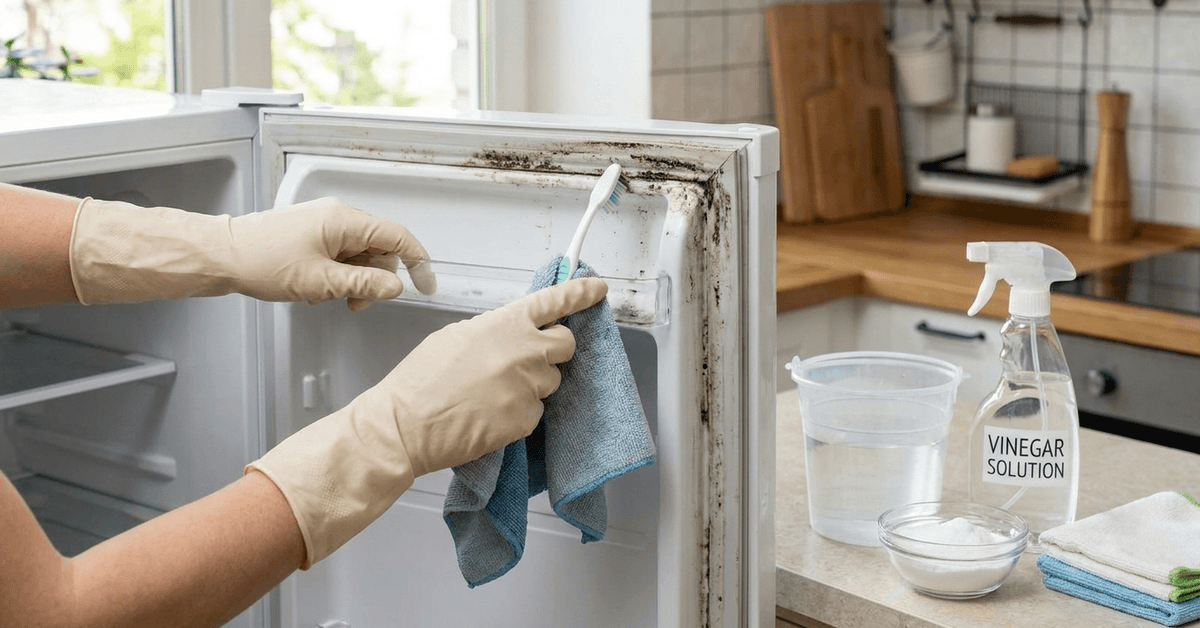
If left unchecked, warm kitchen air and food particles caught in the crevices make this area an ideal spot for mold growth. Many are surprised at how fast mold can multiply in such tight spaces.
Common Causes of Mold Growth
- Leaving doors ajar or not pressing seals shut
- Spilled liquids not wiped promptly
- Condensation from high humidity kitchens
- Improper or infrequent cleaning of door gaskets
Regular inspection goes a long way. If black or dark green spots are visible, mold is likely present.
Health and Efficiency Risks of Moldy Refrigerator Seals
Moldy refrigerator seals can affect both cleanliness and appliance performance. Moisture and buildup around the gasket may also weaken the seal over time.
Health and Hygiene Concerns
Mold around refrigerator seals can contribute to unpleasant odors and unsanitary conditions. Contaminants may spread to nearby surfaces or stored food if cleaning is neglected.
Regular cleaning is especially important in households with children or allergy-sensitive individuals.
Appliance Efficiency Problems
A damaged or dirty gasket may prevent the refrigerator door from sealing properly. Escaping cold air can cause temperature fluctuations and increase energy use. Continued strain may also contribute to faster wear on the refrigerator.
What You Need Before Cleaning Mold from Your Door Seals?
Gathering the proper supplies saves time and supports a thorough cleaning. Simple household items can produce effective results.
- Soft toothbrush for scrubbing folds
- Clean microfiber cloths or sponges
- Small bucket for mixing solutions
- Gloves to protect hands
- Spray bottle (optional, for application)
It’s always wise to wear gloves to avoid direct contact with mold spores during the process.
Safe Cleaning Solutions for Rubber Gaskets
- Distilled white vinegar diluted with equal parts water
- Baking soda paste (mixed with water to form a spreadable consistency)
- Mild dish soap diluted in warm water
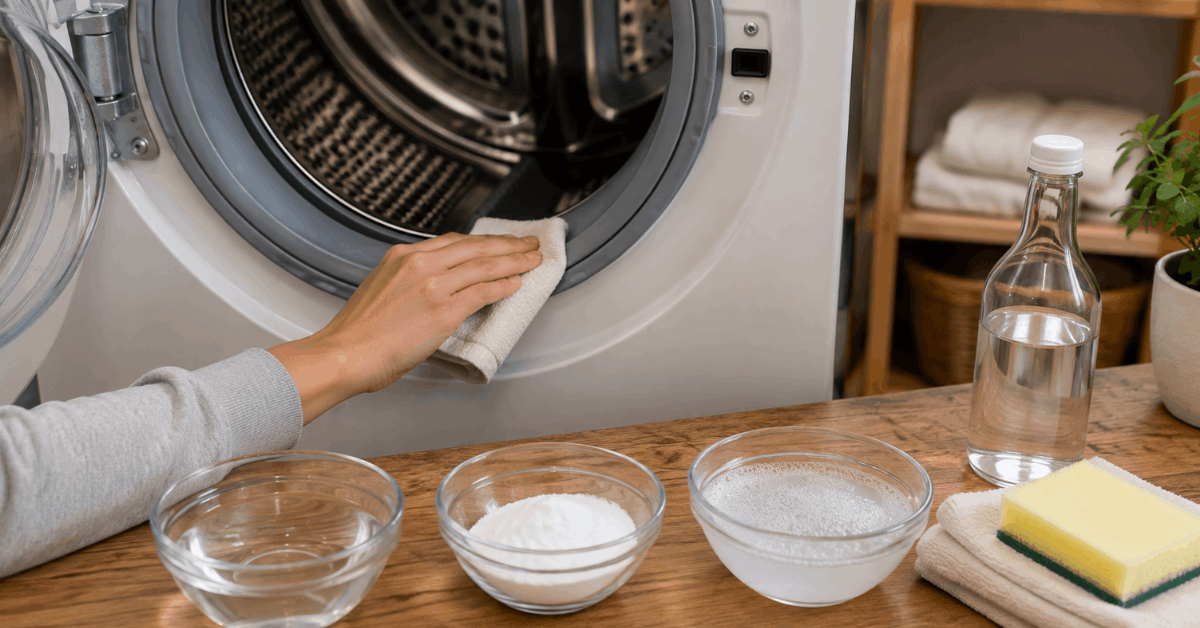
Avoid harsh chemicals like bleach unless absolutely necessary as they can degrade gasket materials over time.
Step-by-Step Guide: Removing Mold from Refrigerator Door Seals
Cleaning mold from refrigerator seals helps improve hygiene and prevent musty odors from returning. Careful preparation also makes it easier to reach hidden folds without damaging the gasket.
Preparing the Refrigerator and Seals
- Switch off or unplug the refrigerator if possible to save energy and ensure safety.
- Open the fridge door fully and gently stretch the seal to expose inner folds.
Some homeowners prefer to place a towel on the floor below the door for easier cleanup.
Applying the Cleaning Solution
- Dampen a cloth or sponge with the chosen cleaning solution (using white vinegar if mold is extensive).
- Gently run the cloth along all visible gasket areas, paying extra attention to grooves where mold tends to hide.
- For stubborn spots, a soft toothbrush offers more precision and extra agitation.
Many find that applying baking soda paste with a toothbrush tackles deeply rooted stains effectively.
Wiping and Drying the Seals
- After scrubbing, wipe the area with a clean, damp cloth to lift loosened mold and leftover cleaner.
- Finish by drying the seal with another dry microfiber cloth to prevent future moisture buildup.
Repeated drying is, perhaps, the most underrated step for pest prevention in fridge maintenance routines.
Inspecting and Repeating if Necessary
- Closely inspect the seal for any remaining discoloration.
- Repeat cleaning on persistent spots. Some older gaskets may need multiple applications or specialty cleaners.
Success is usually visible when all stains are gone and rubber feels clean, not sticky or slippery.
Tips for Keeping Refrigerator Door Seals Mold-Free Long-Term
Regular maintenance can help prevent mold from returning around refrigerator door seals. Cleaning, inspecting the gasket, and controlling moisture all support better long-term results.
Routine Cleaning Schedule
Wipe the door seals weekly with warm, soapy water to remove moisture and residue. A more thorough monthly cleaning can help prevent stubborn buildup.
Inspect the gasket regularly so early signs of mold can be treated quickly. Make sure to dry the seal completely after cleaning to prevent lingering dampness.
Check for Seal Damage
Look for cracks, gaps, stiffness, or other visible damage along the gasket. Damaged seals can trap moisture and reduce the refrigerator’s efficiency. Order a replacement for compromised gaskets from GE Appliances to regain full efficiency.
Replace worn gaskets according to the manufacturer’s instructions and model specifications. If the door does not close evenly, have the alignment checked as well.
Monitor Refrigerator Humidity Levels
Keep foods covered and avoid leaving the refrigerator door open longer than necessary. Reducing excess kitchen humidity can also help limit moisture around the seals.
In humid environments, ventilation or suitable moisture-control measures may help keep the area drier. Using airtight containers can further reduce internal moisture buildup.
Improve Air Circulation Around the Door
Ensure the refrigerator is not placed too close to walls or cabinets that block airflow. Good ventilation around the appliance helps reduce condensation near the gasket. Periodically check that vents inside the refrigerator are not obstructed by food items.
Use Gentle Mold-Preventing Solutions
Occasionally wipe seals with a diluted vinegar solution to discourage mold growth. Avoid harsh chemicals that may damage the rubber material. Always rinse and dry the gasket afterward to maintain its flexibility and integrity.
When to Call a Professional?
Professional help may be necessary when stains or odors persist after thorough cleaning. Mold can sometimes spread deeper into the gasket or surrounding door frame.
A qualified technician can inspect for hidden moisture, leaks, or damaged seals. Replacing worn components may help restore proper sealing and prevent recurring problems.
Conclusion
Addressing mold on refrigerator door seals is more than an occasional chore. Consistent care extends the life of both the gasket and your refrigerator, saving time and resources in the long run.
Choosing gentle cleaning agents, inspecting seals regularly, and acting quickly on early signs of mold all contribute to a safer, more efficient kitchen. Ultimately, the small investment in maintenance pays off with fresher food and fewer costly repairs.