Regular cleaning helps a handheld fabric steamer maintain steady steam performance and dependable use. This guide explains how to clean the tank, remove mineral buildup, rinse, and dry the appliance safely.
It also covers safe cleaning materials, maintenance frequency, prevention tips, and common mistakes. These steps can support longer appliance life while reducing residue that may transfer onto clothing.
Why Cleaning the Steamer Tank Matters?
Mineral deposits, limescale, and leftover water can collect inside the tank and interfere with normal steam flow. Regular cleaning can also reduce odors, visible residue, and water spotting during use.
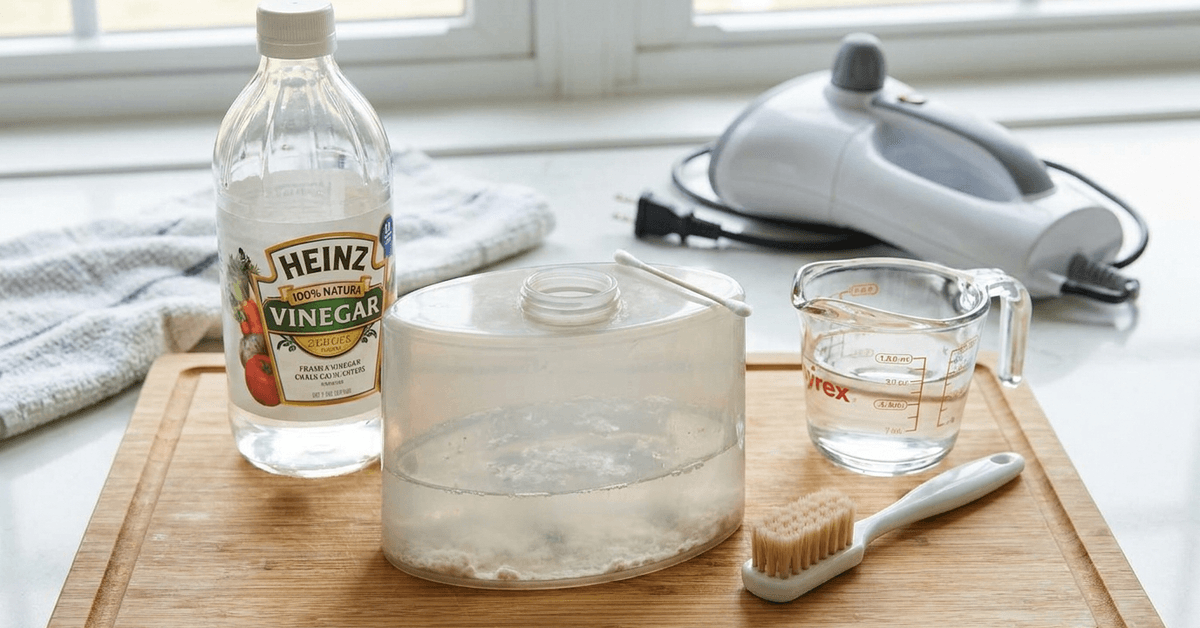
Reduced steam or marks on fabrics may indicate buildup inside the reservoir. Cleaning helps remove accumulated mineral residue before it becomes harder to manage.
Understanding Your Handheld Fabric Steamer
A handheld model generally includes a water tank, heating element, steam nozzle, and electrical components. Understanding these parts helps users clean the tank without exposing sensitive internal areas to unnecessary moisture.
The tank stores water before it reaches the heating system, and designs may be removable or fixed. Materials and seals respond differently to cleaning products, so the manufacturer manual should guide maintenance.
Access is commonly through a cap or removable reservoir. A handheld model such as a Conair fabric steamer shows why model-specific instructions matter when cleaning tanks and removable parts.
Safe Cleaning Materials
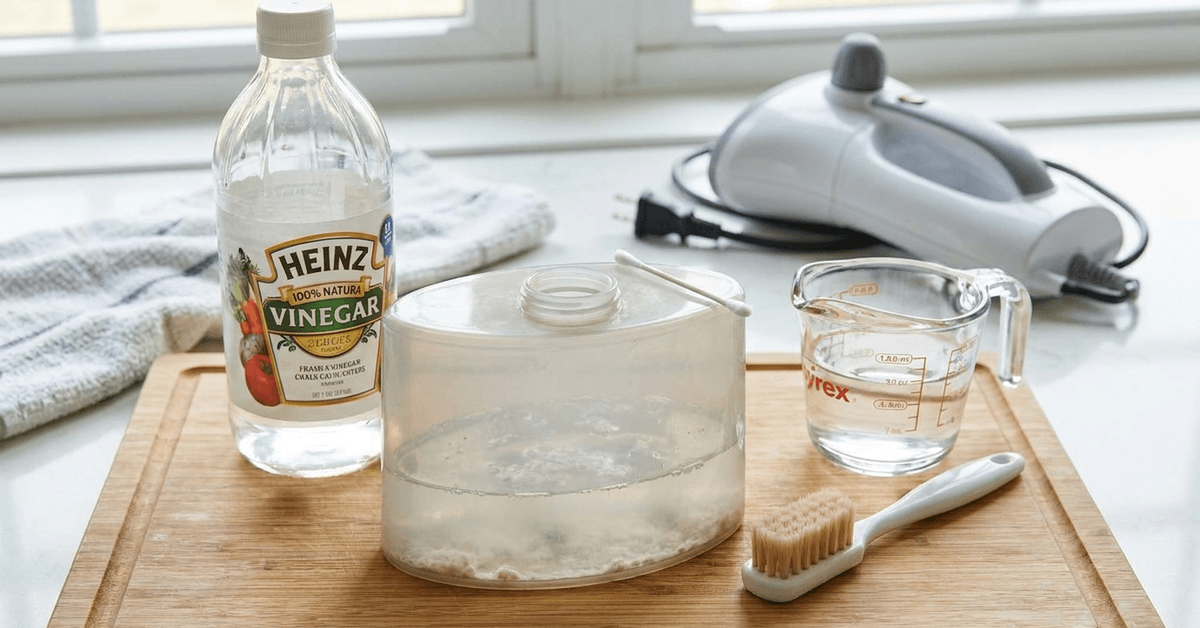
Steamer tanks generally respond best to gentle cleaning supplies rather than aggressive chemicals. Choose materials permitted by the manufacturer to protect plastic, seals, and internal components.
- White vinegar for descaling when approved
- Filtered or distilled water for rinsing
- Mild dish soap for compatible removable tanks
- A soft bottle brush for accessible buildup
- Cotton swabs for narrow corners
- A clean microfiber cloth for exterior areas
Harsh scrubbers can scratch plastic or damage surfaces. For routine maintenance, light pressure and soaking are safer than aggressive scrubbing.
Step-by-Step: The Best Way to Clean a Steamer Tank
A careful sequence keeps tank cleaning simple while limiting contact with electrical parts. Begin with the steamer unplugged, completely cool, and placed on a stable surface.
Empty and Inspect the Tank
Begin with the steamer unplugged and cool, then empty remaining water from the steamer reservoir.
If the tank is removable, detach it according to the manufacturer’s instructions. Inspect the interior for white mineral scale, cloudy residue, or loose debris.
Prepare the Cleaning Solution
Use the mixture recommended for the specific model because descaling instructions vary. If diluted white vinegar is permitted, prepare only enough to treat the reservoir safely. Avoid very hot water or concentrated chemicals that may affect plastic tanks or seals.
Fill and Soak
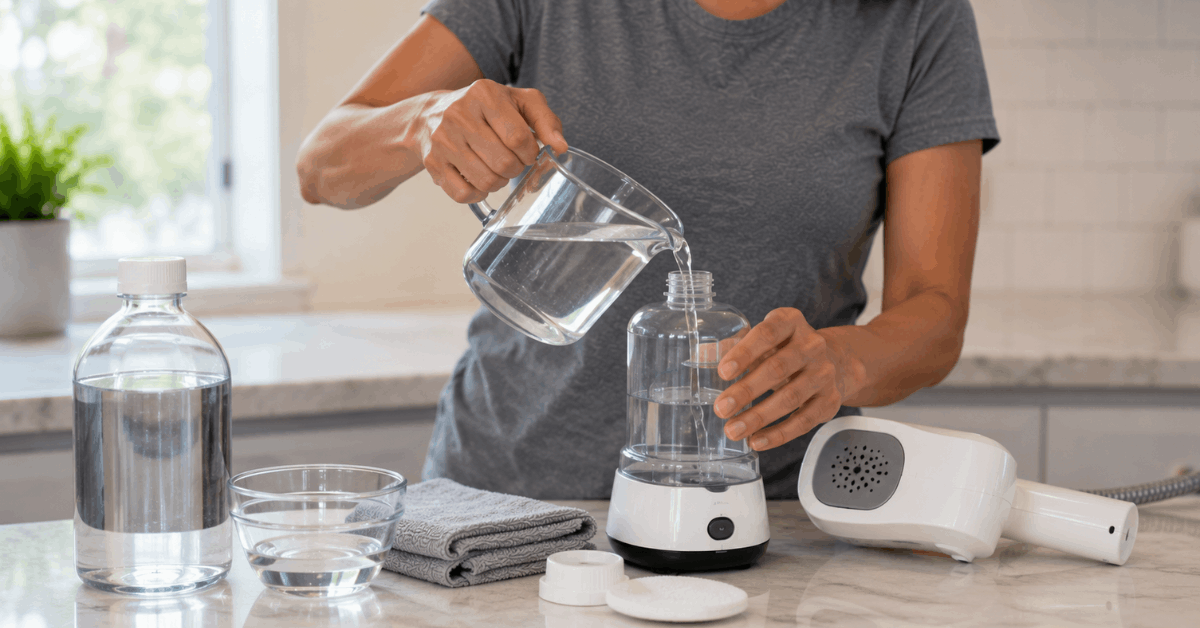
Pour the approved solution into the tank without exceeding the maximum fill line. Secure the cap and position the tank or appliance as directed to prevent leaks. Let the solution soak for the recommended period so mineral deposits soften before rinsing.
Swirl and Rinse
Gently move the tank so the solution reaches interior surfaces and corners without vigorous shaking.
Empty the mixture after soaking and rinse the reservoir several times with clean water. Continue rinsing until visible debris and cleaning solution residue are gone.
Remove Persistent Debris
Use a soft bottle brush only if the opening provides safe access to stubborn mineral buildup. Work around seams and corners without forcing the brush into narrow passages. A cotton swab may reach accessible spots, but avoid sharp or metal tools.
Dry Thoroughly
Allow the tank to air-dry completely before reassembly, storage, or refilling. Leave the cap or reservoir open when permitted so air can circulate. Complete drying helps prevent stale water and odors between steaming sessions.
How Often Should a Steamer Tank Be Cleaned?
Cleaning frequency depends on water quality and usage, so schedules vary between steamers. Check the manual and inspect the reservoir for deposits, reduced output, odors, or visible discoloration.
Frequent use or mineral-heavy water may require more regular maintenance. Light rinsing after use and periodic deeper cleaning can keep scale buildup manageable.
Tips for Preventing Mineral Build-Up
Preventive habits reduce mineral residue inside the reservoir. Follow manufacturer recommendations because some models specify particular water types or treatments.
- Use filtered or distilled water when recommended.
- Empty leftover water after each session when instructed.
- Allow the tank to dry before storage.
- Check regularly for scale or odor.
- Follow the recommended cleaning schedule.
- Keep the cap open during storage if ventilation is permitted.
A recurring reminder can make routine tank maintenance easier to remember. Regular attention is simpler than removing heavily hardened deposits later.
Common Mistakes and Cautions
Several mistakes can expose a steamer to electrical or surface damage. Keep water limited to approved areas and avoid unapproved chemicals.
- Never submerge the entire steamer in water.
- Avoid bleach, abrasive powders, and rough scrubbers.
- Do not heat cleaning solution unless instructions require it.
- Unplug and cool the appliance before opening the reservoir.
- Never insert sharp tools into steam passages.
- Avoid overfilling the tank during cleaning.
Small components are easy to overlook. Checking the cap, seal, and accessible tank edges supports cleaner, safer operation without unnecessary disassembly.
Best Practices for Long-Term Maintenance
Consistent maintenance helps prevent heavy mineral buildup and supports reliable steamer performance. Simple routines also make future cleaning easier.
Track Cleaning and Maintenance
Keep a record of cleaning dates if the steamer is used frequently. Regular scheduling can help prevent mineral deposits from becoming difficult to remove. Adjust cleaning frequency according to usage and manufacturer recommendations.
Empty and Store Properly
Empty the water tank after use when recommended by the manufacturer. Allow the reservoir and accessible parts to dry before storing the appliance. Keep the exterior clean and inspect components for visible wear or damage.
Address Persistent Problems
Pay attention to recurring odors, leaks, or changes in steam output. Consult the manufacturer’s troubleshooting guide if problems continue after cleaning. Damaged seals, reservoirs, or internal components may require professional service or replacement.
Conclusion: Keeping Your Handheld Steamer Tank Clean for Efficiency and Appliance Life
Consistent tank care supports reliable steam output and helps limit residue inside a handheld fabric steamer. Gentle cleaning, thorough rinsing, and complete drying are key parts of safe routine maintenance.
Following manufacturer guidance also helps users choose suitable water, cleaners, and maintenance intervals. With a simple cleaning routine, steamer care can become an easy household habit.